Your software has a section dedicated to processing retail returns. There are two different processes for processing returns:
Processing a return with a receipt or invoice
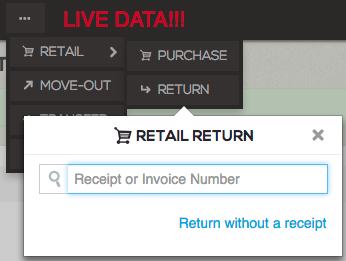
If a customer has purchased a retail item and would now like to return it, you can easily reach the retail return screen by clicking the ... button on your menu bar. Select Retail. A Purchase option and a Return option will appear. Select Return.

Next, enter the receipt number or the invoice number of the item the customer would like to return. Then, select the link that appears for that invoice or receipt.
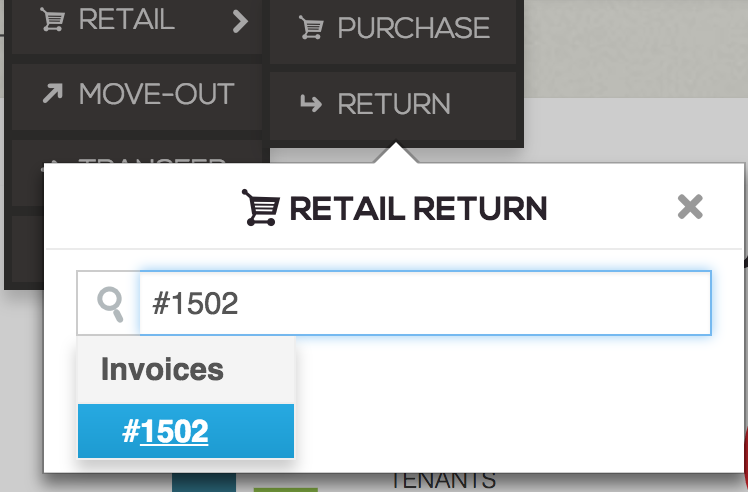
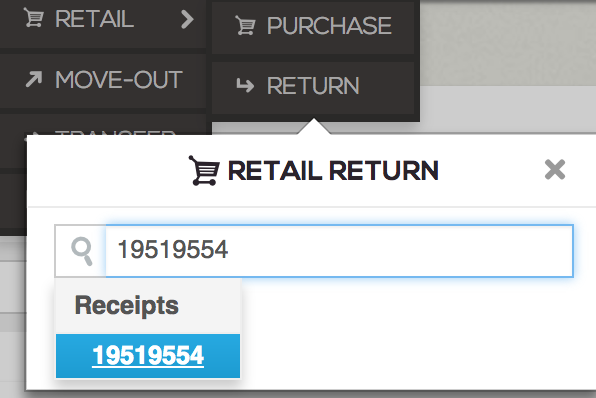
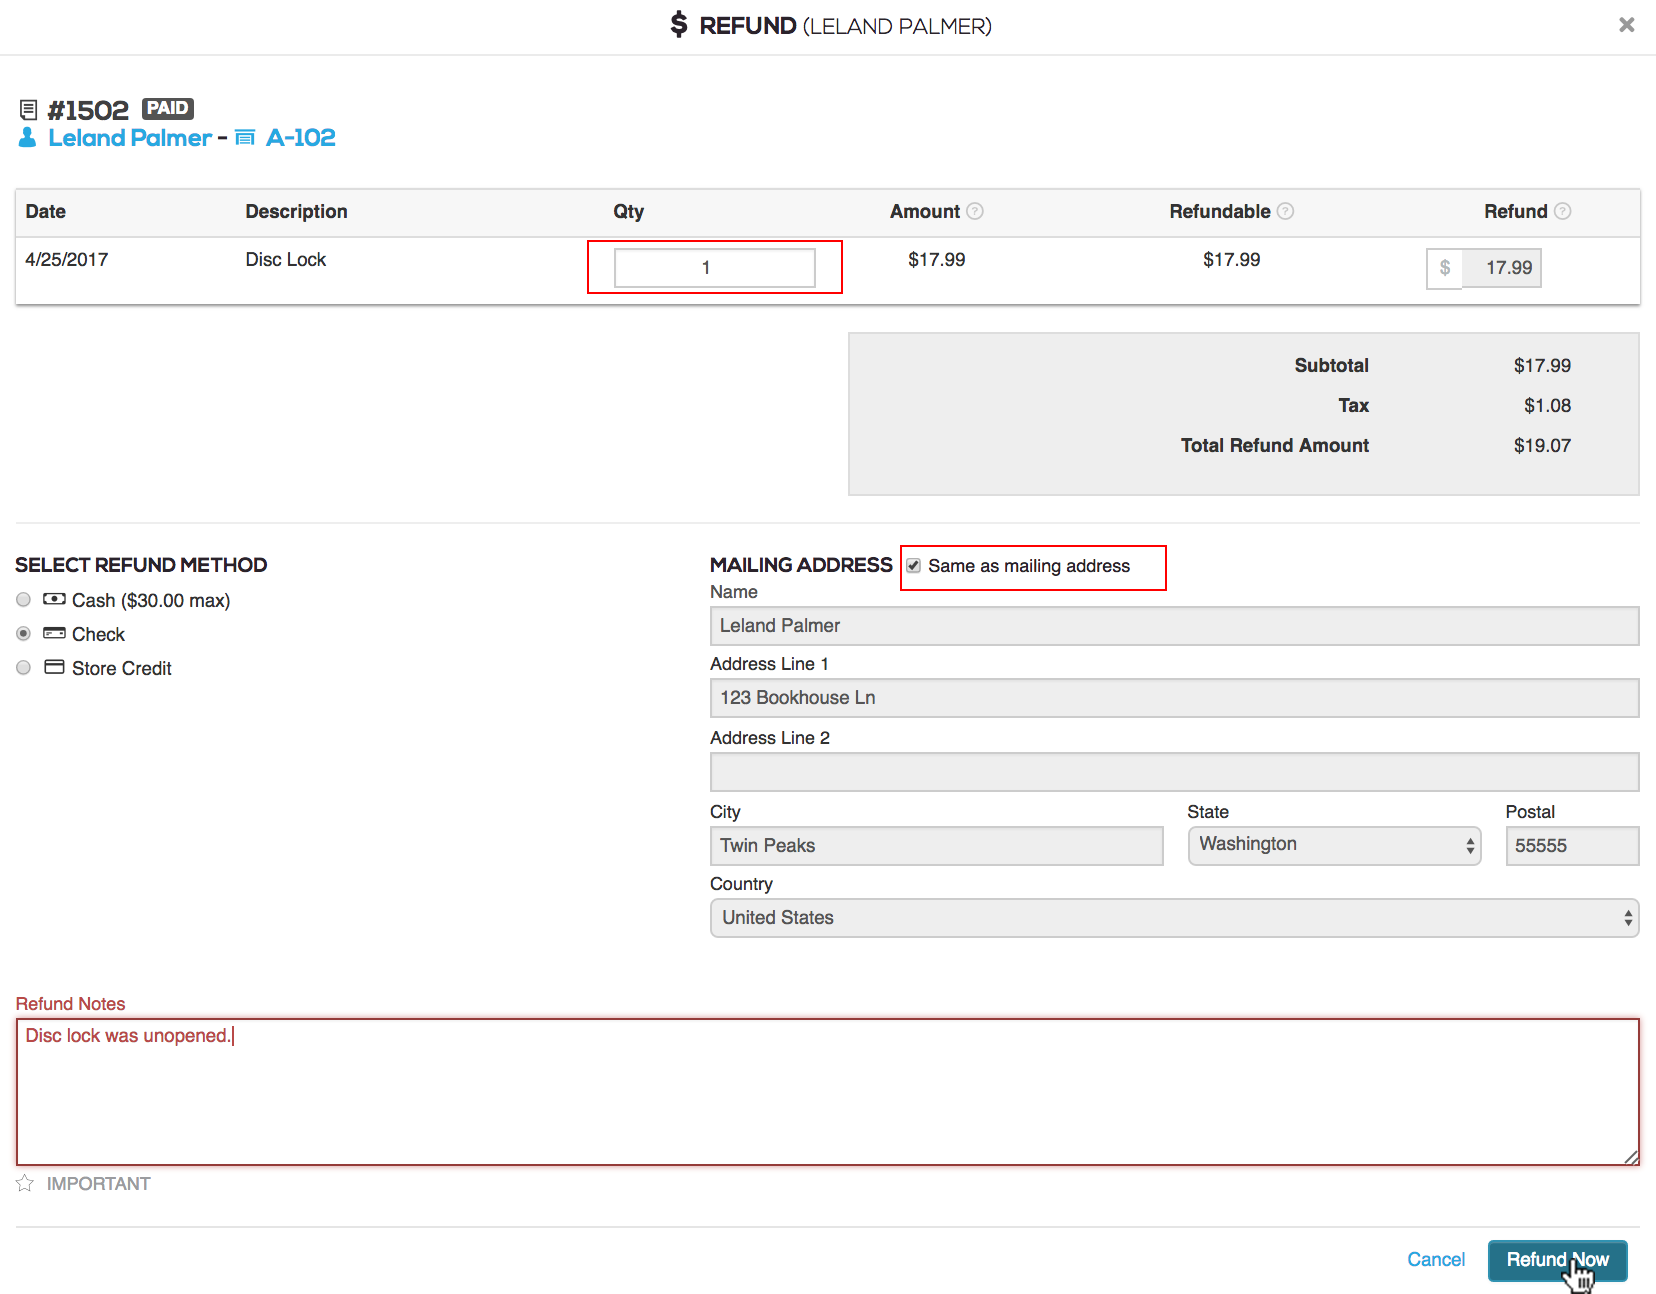
The refund screen will appear. Select the quantity of the item the customer would like to return. Select the refund method.
Last, put a note in the Refund notes box. This is a required field. Finally, click Refund Now.
Your refund will be processed, and a confirmation screen will appear that your refund was successful. From here, you can print or email a receipt for the refund.

Where to find invoice and receipt numbers
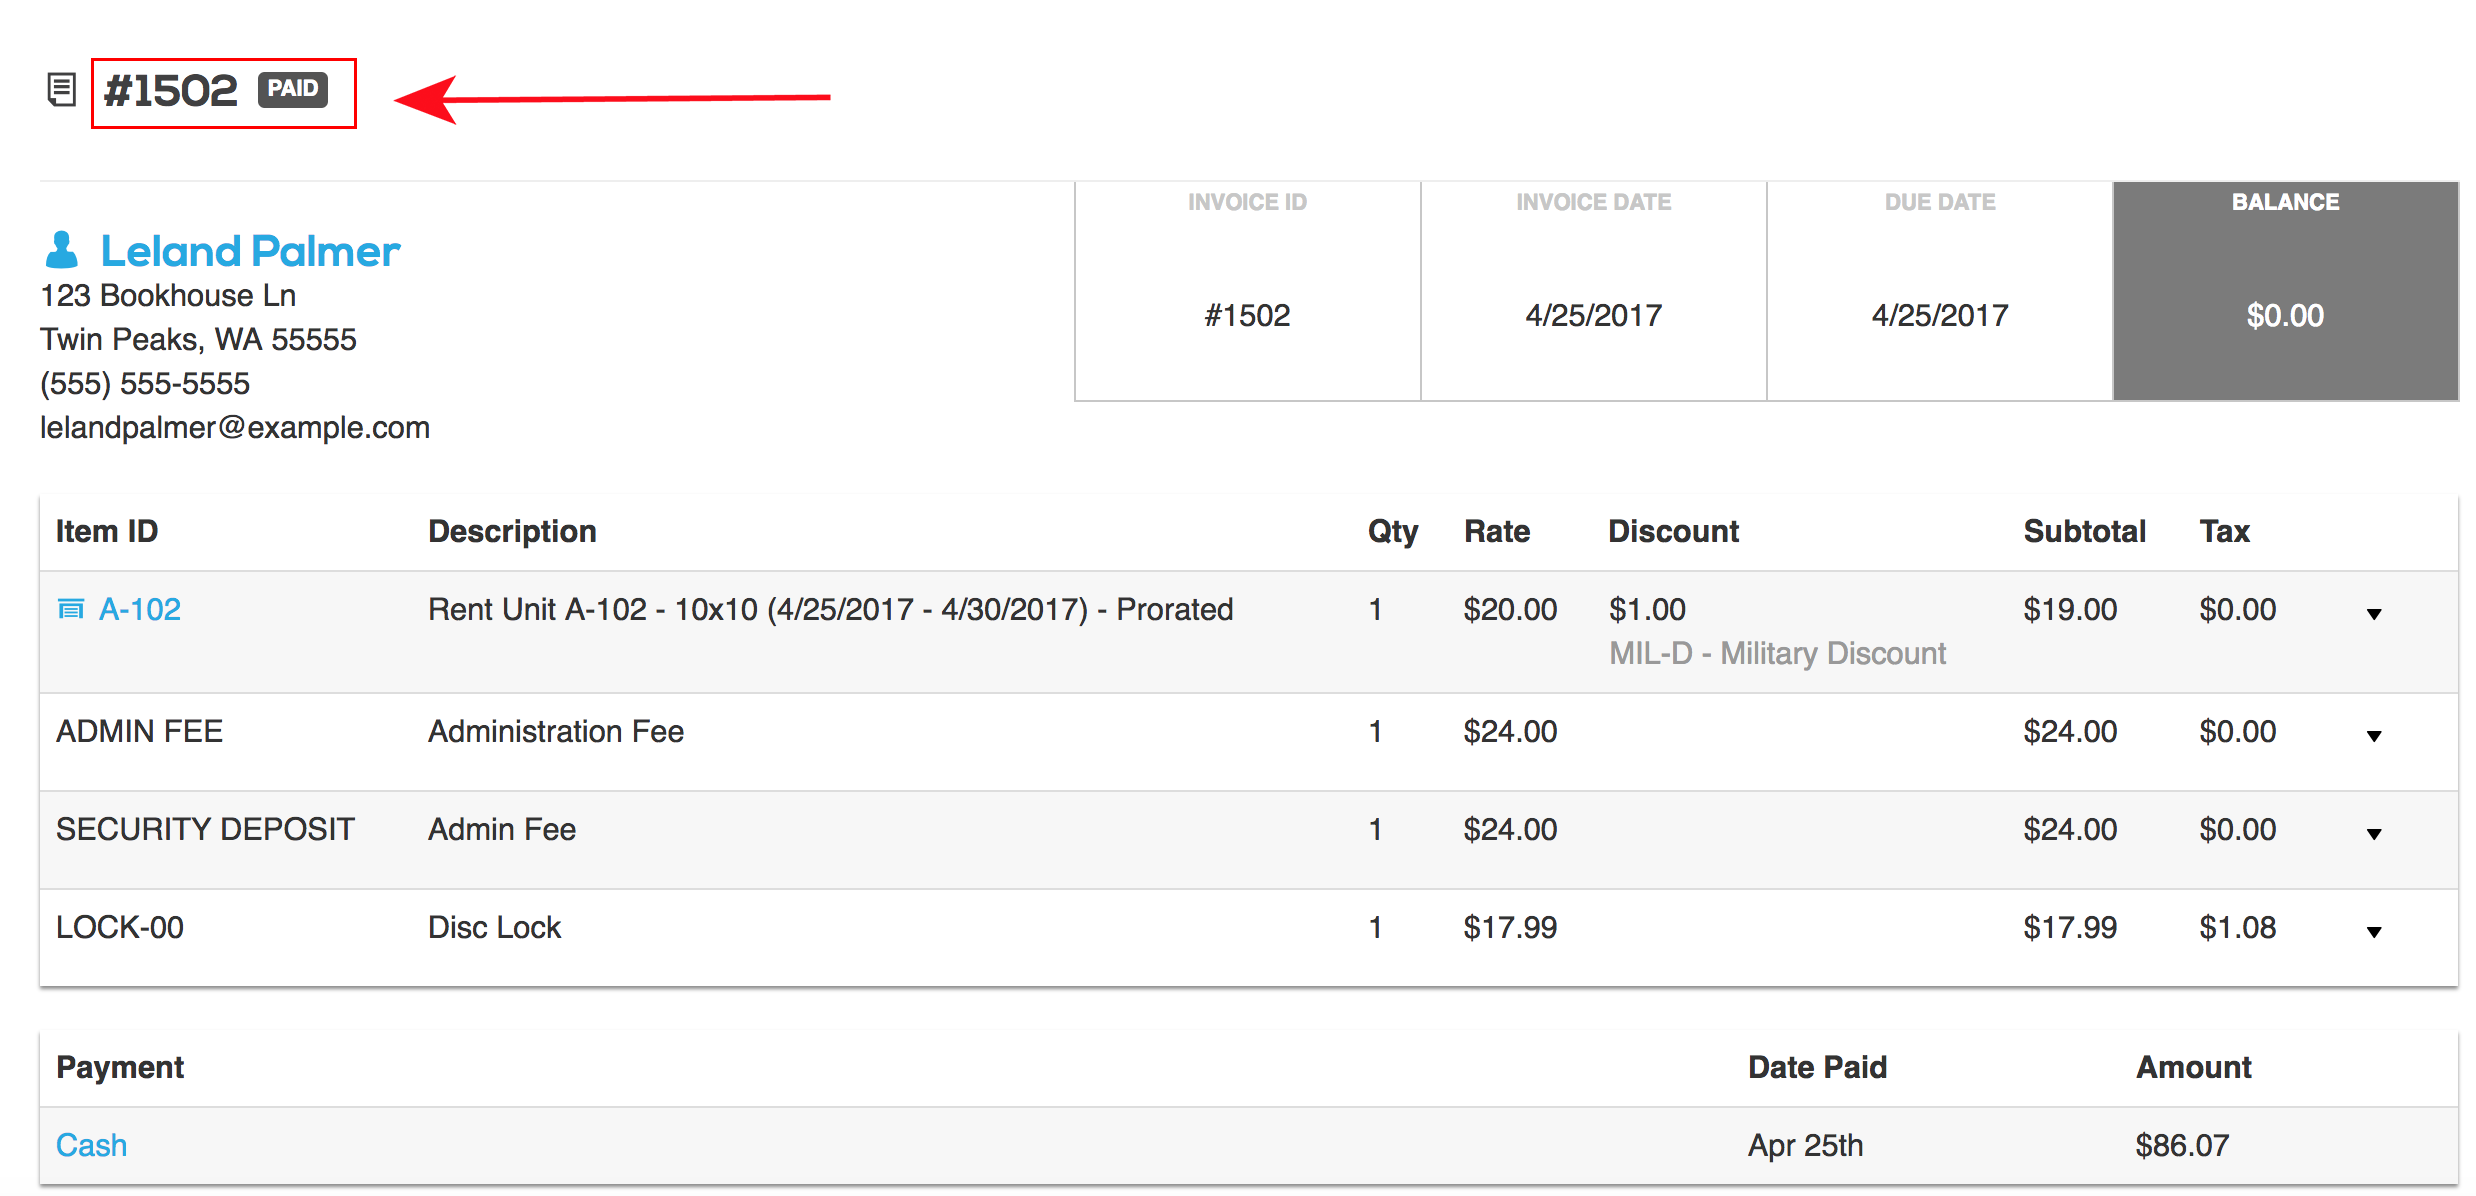
You can find the invoice number by accessing a tenant's ledger. Find the invoice that contains the retail item that is being returned, and use that number for the return.
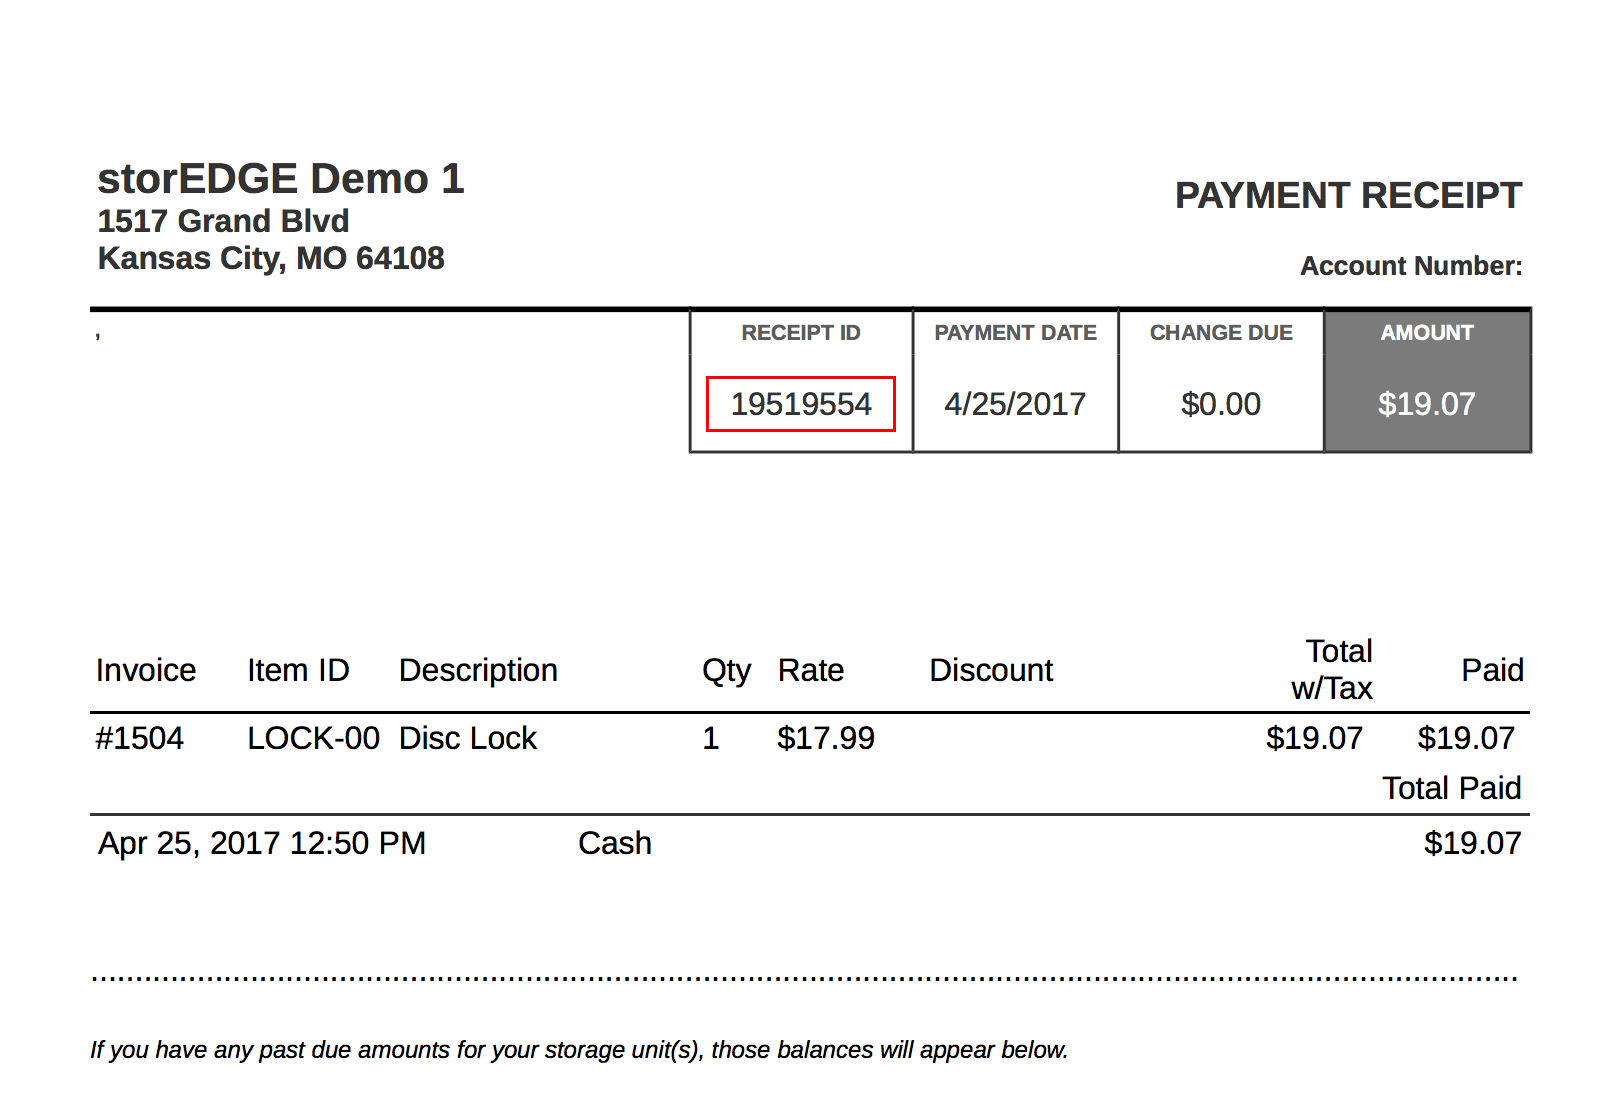
If the customer brings a receipt, you'll find the receipt number in the box labeled Receipt ID.
Processing a return without a receipt or invoice
There are some instances that you might want to allow customers to return retail items purchased from your facility without a receipt or invoice. In order to allow returns without a receipt, you must first adjust your facility's settings with this permission. To do this, access your Billing Settings on the Settings tab.
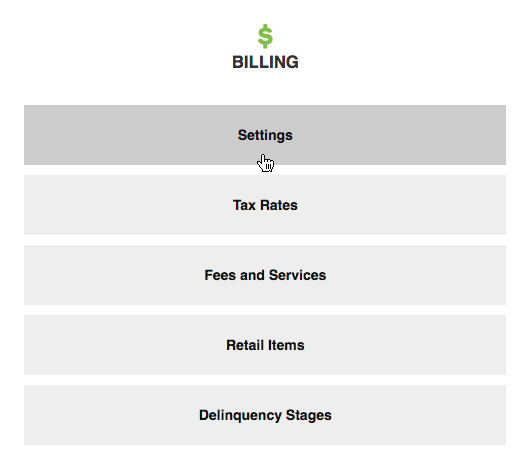
Under the Retail section of your Billing Settings, you'll see two options. Here, you can select whether or not your facility will allow returns without a receipt. You'll also have the chance to set a timeline for how long after a purchase you'll still accept a return. Check the box next to Allow merchandise returns without a receipt and click Save.

Now that your settings allow returns without a receipt, you can process the return. To process the return, access the retail section under the ... section just as you would if your customer had a receipt. You'll notice that the option to process a return without a receipt is immediately available. Click the link that says Return without a receipt.
The next window will allow you to attach the return to a tenant if the customer making the return is a tenant. This field is optional. Next, you'll select the merchandise that the customer wants to return. Select the merchandise item from the list.
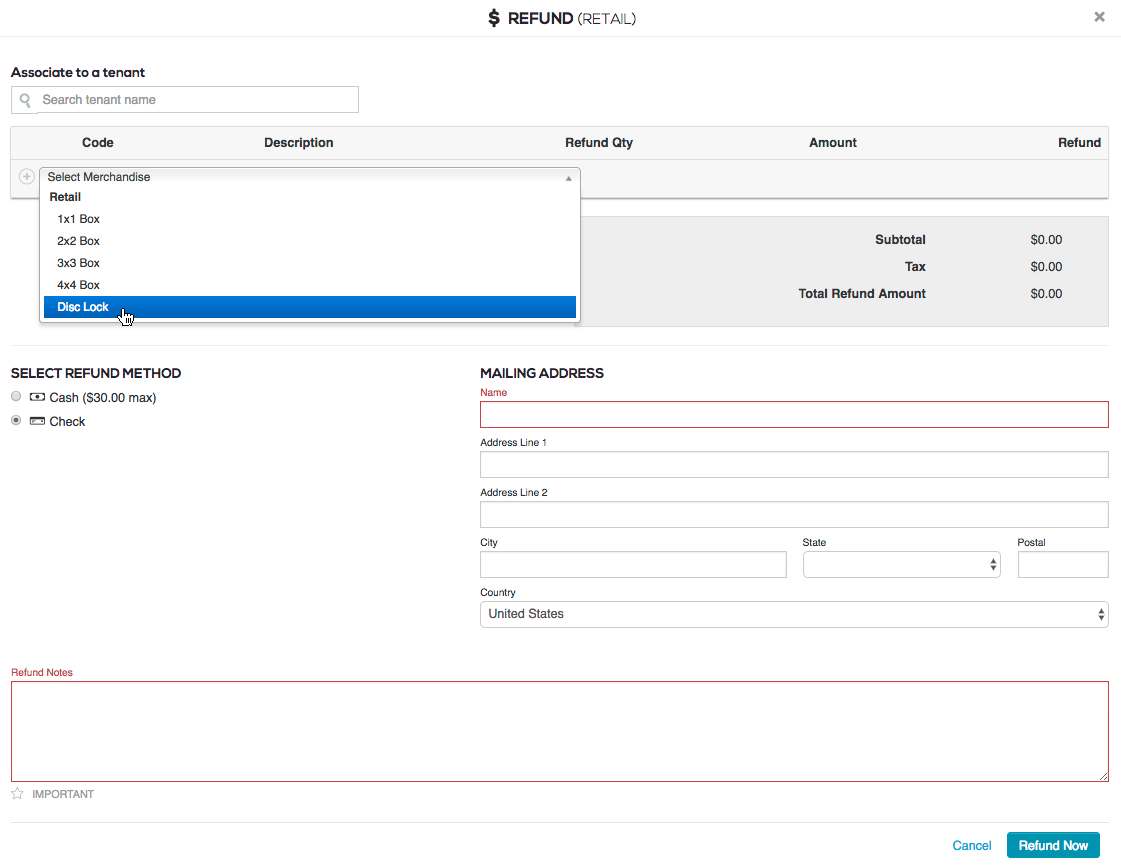
Next, enter the quantity of items being returned next to retail item you've selected. Then, select the refund method. If you select Cash, be mindful of your facility's limits on cash returns. If you need to refund with a check, you'll need to enter the customer's mailing address. Last, enter the reason for the refund or any other detail you feel relevant and click Refund Now.

The next window will confirm that the return has successfully been processed. You'll have the option here to print or send a receipt to a customer's email address.
