A transfer is the movement of a tenant from one unit to another. To complete a transfer, follow this simple, step-by-step process:
2. Selecting a Unit, Insurance, Services, and Promos
4. Review
5. Payment
6. Confirmation
There are three possible payment outcomes this unit movement can produce:
- Equal Amount Transfer: Occurs when a tenant transfers from one unit to another and does not have a balance due.
- Prepay Balance Transfer: Occurs when a tenant transfers from one unit to another and has a prepaid credit.
- Balance Due Transfer: Occurs when a tenant transfers from one unit to another and has a balance due.
Beginning a transfer
You can begin a tenant transfer from a number of locations:
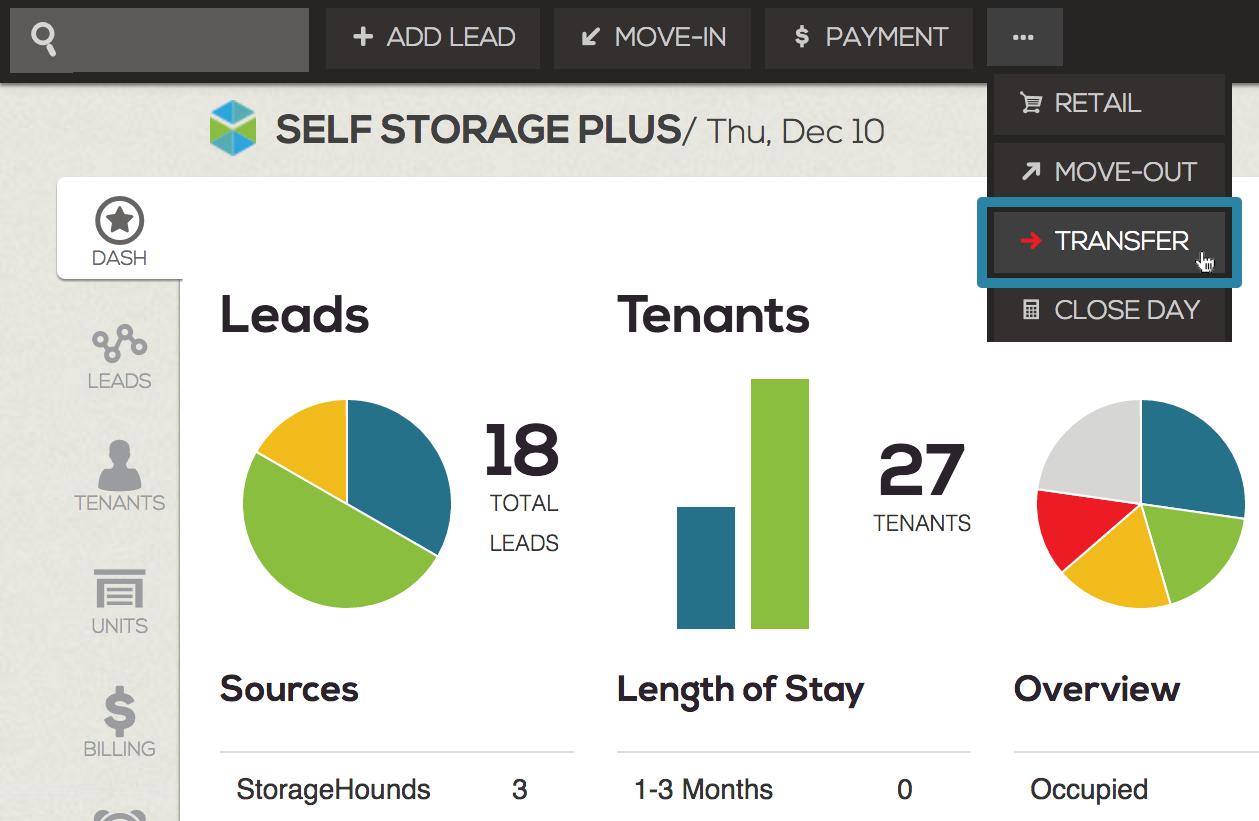
- From the Nav Bar by clicking the … and selecting Transfer.
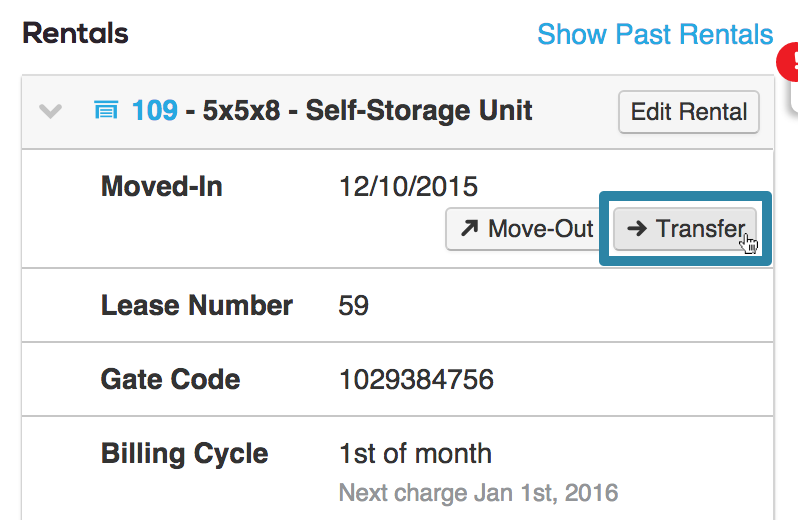
- From the tenant's general page, by clicking transfer under the Current Rentals section.
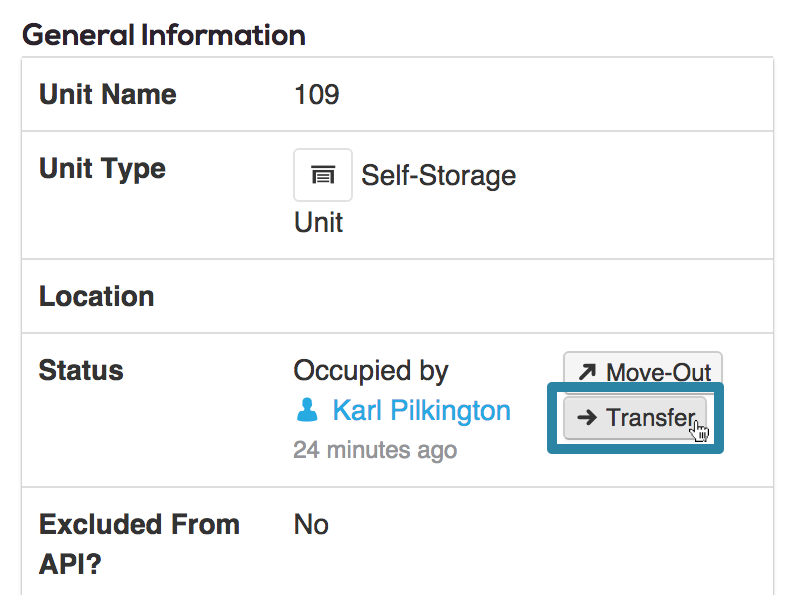
From the unit’s general page, by clicking Transfer under the General Information section.
Processing a transfer from the Nav Bar
After clicking the …, a dropdown menu will appear.
Click Transfer. The Transfer popup screen will appear.
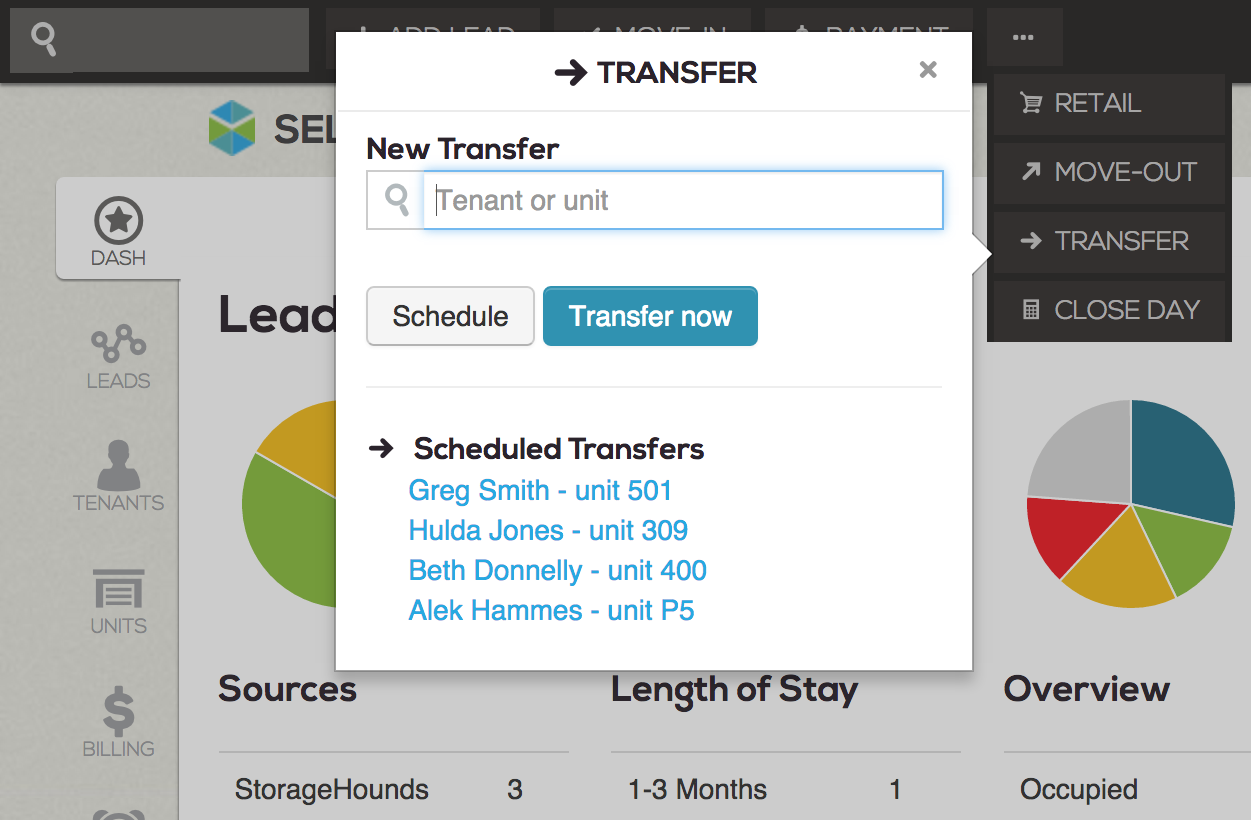
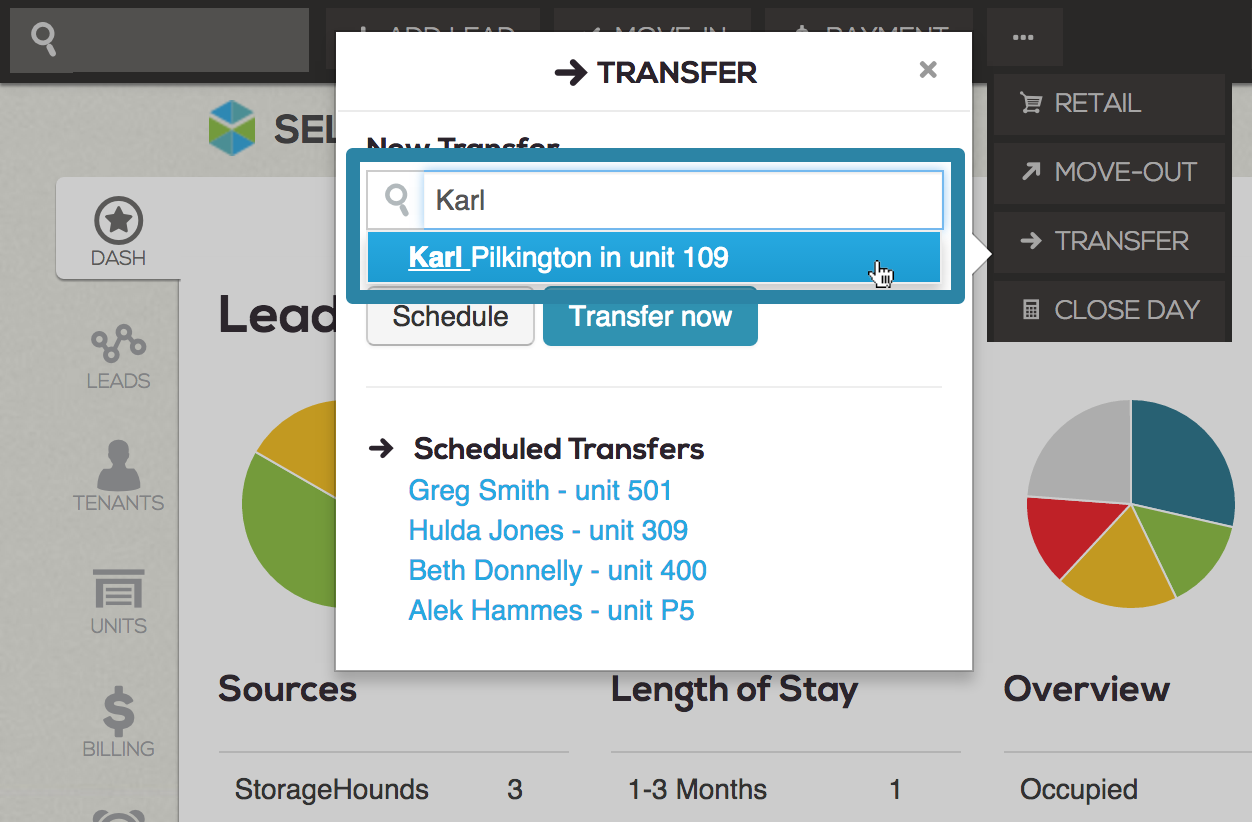
Begin typing the name of the tenant or unit you wish to process in the Tenant or unit field. Select the desired tenant or unit from the list that appears.
Click Transfer now to bring up the Transfer window.
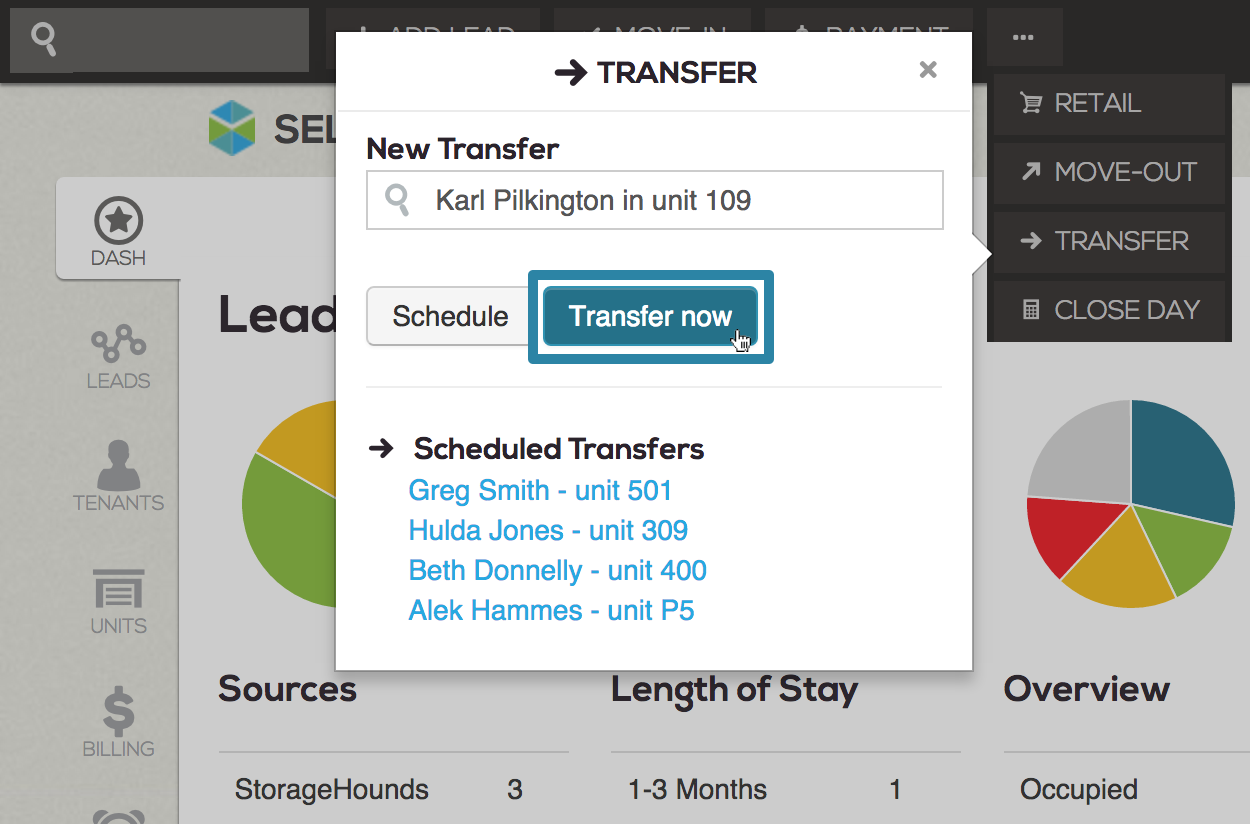
Note that the names of previously scheduled transfers will appear at the bottom of the Transfer popup screen. Clicking the desired tenant's name from the list will also bring up the Transfer screen.
Whether you are processing a move-in from the tenant page or the unit page, the steps are the same:
After clicking Transfer, the Transfer popup screen will appear.
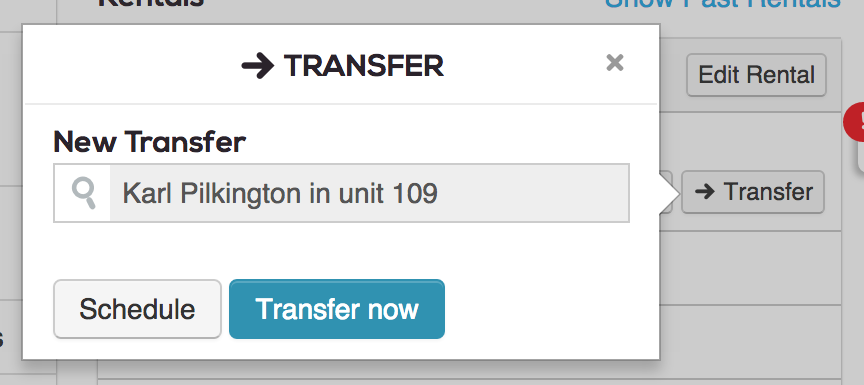
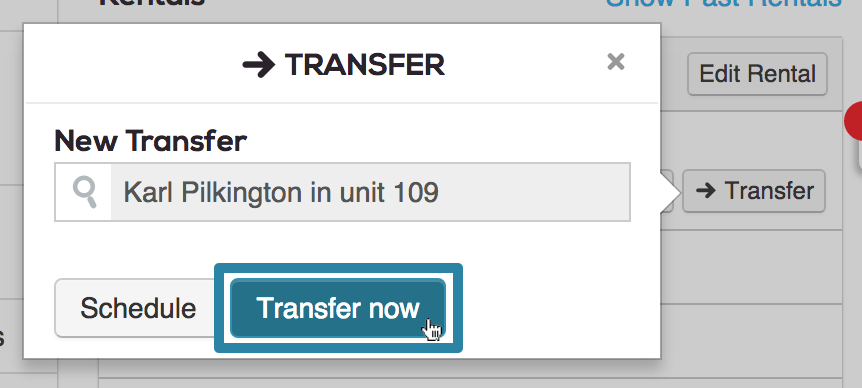
Click the blue Transfer now button to bring up the Transfer window.
Selecting a unit, insurance, services, and promotions
In the first stage of the transfer, you will select the new unit and other rental information.
You will see that the screen is divided into halves:
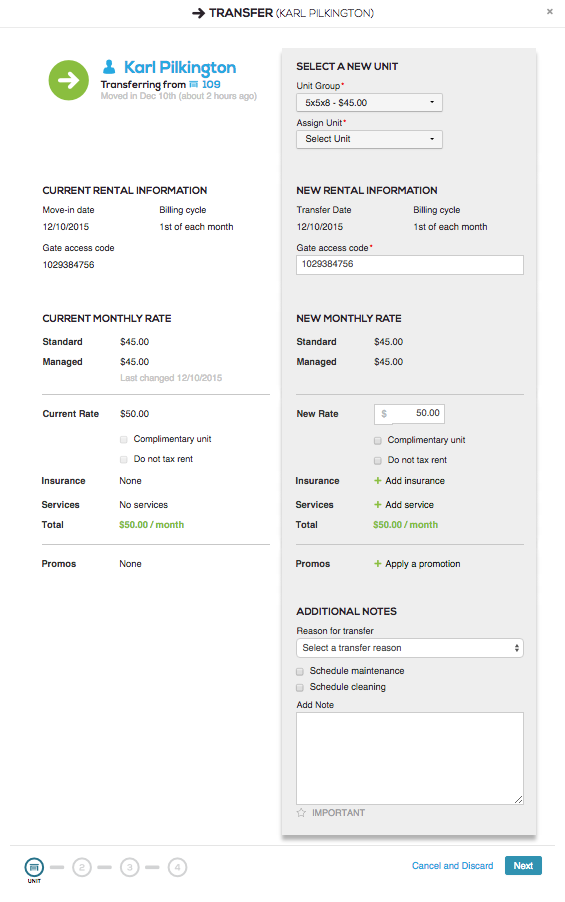
- On the left, you will see information about the tenant’s current rental, including move-in date, monthly rate, and services.
- On the right, you will fill in the information for the unit that the tenant will be transferring to.
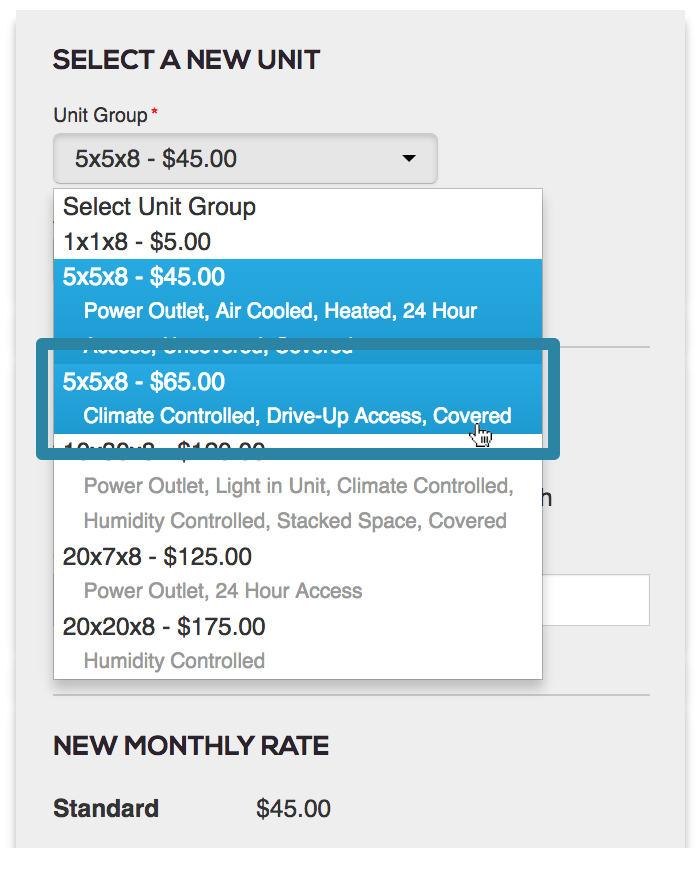
Under the Select a New Unit section, click the dropdown menu to choose the new unit’s group under Unit Group.
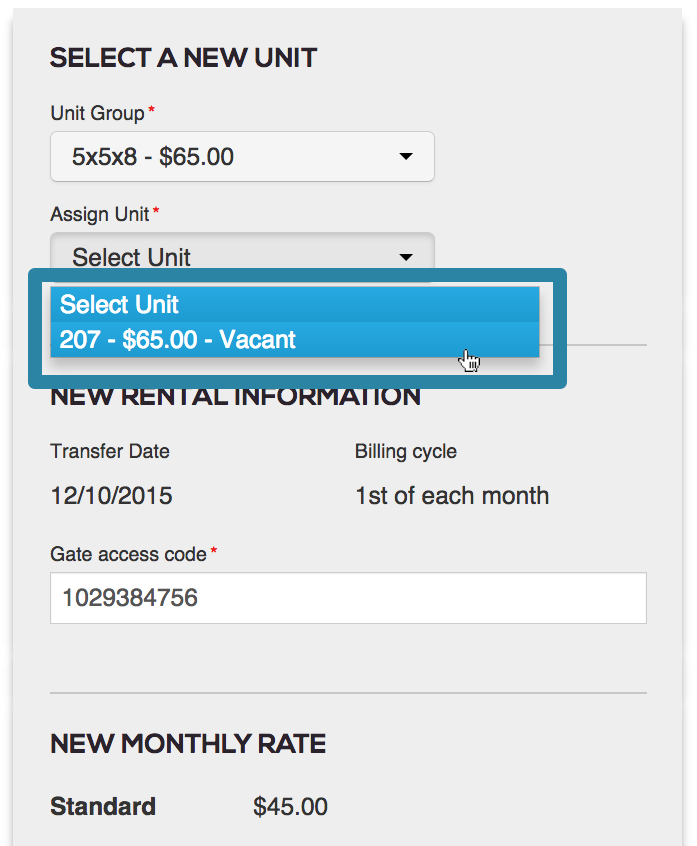
Click the dropdown menu to choose the new unit under Assign Unit.
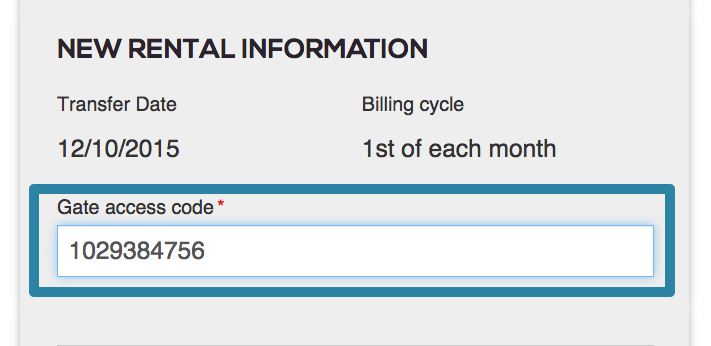
Under the New Rental Information section, the Transfer Date will be set for today by default.
The Billing Cycle and Gate access code will remain the same as the tenant’s previous unit. You can, however, change the gate code if you wish by typing in a new number.
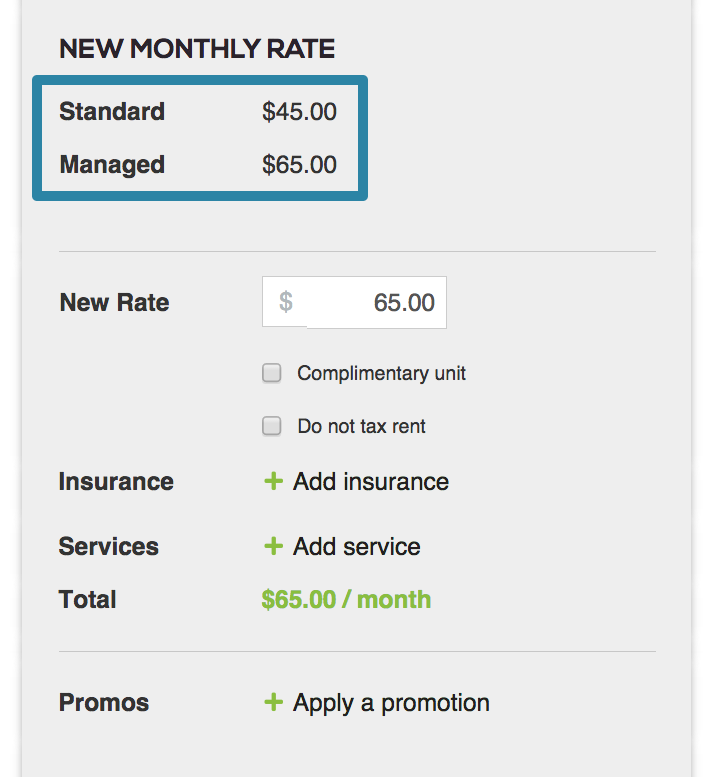
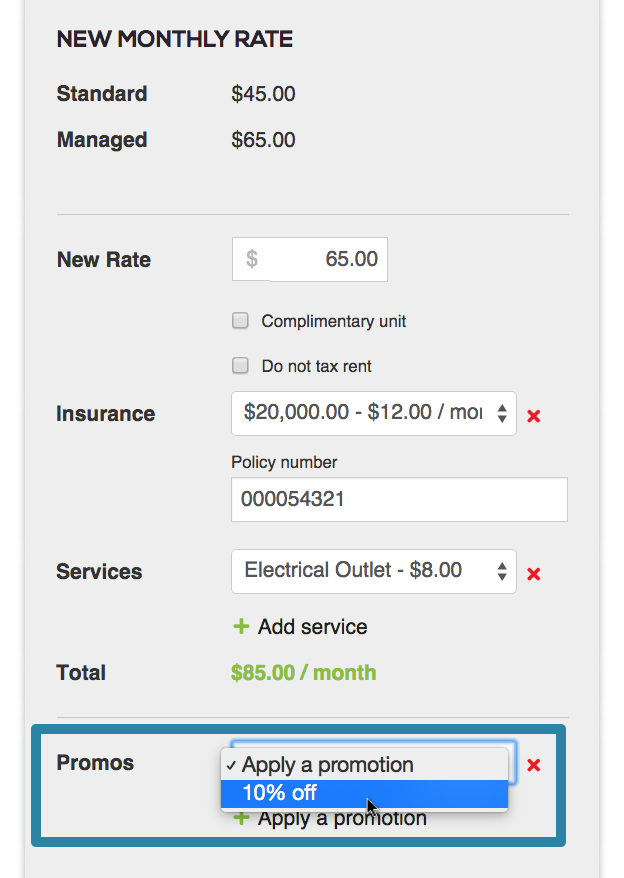
Under the New Monthly Rate section:
- The unit’s standard rate will be displayed beside Standard.
- If the unit falls within any pre-set Yield Management criteria, the Managed Rate will replace the Standard Rate.
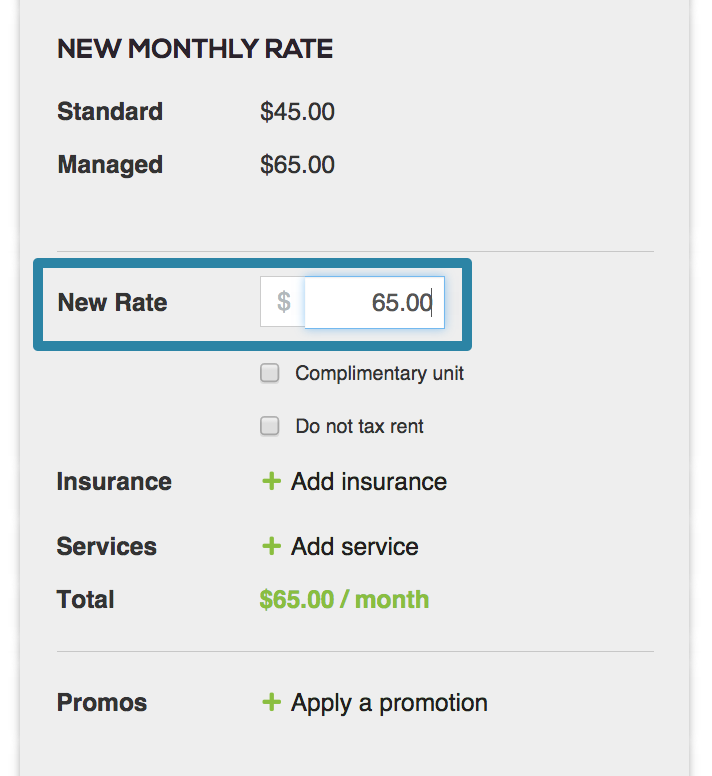
Regardless of the rate settings, you can override them by typing in an amount in the New Rate field.
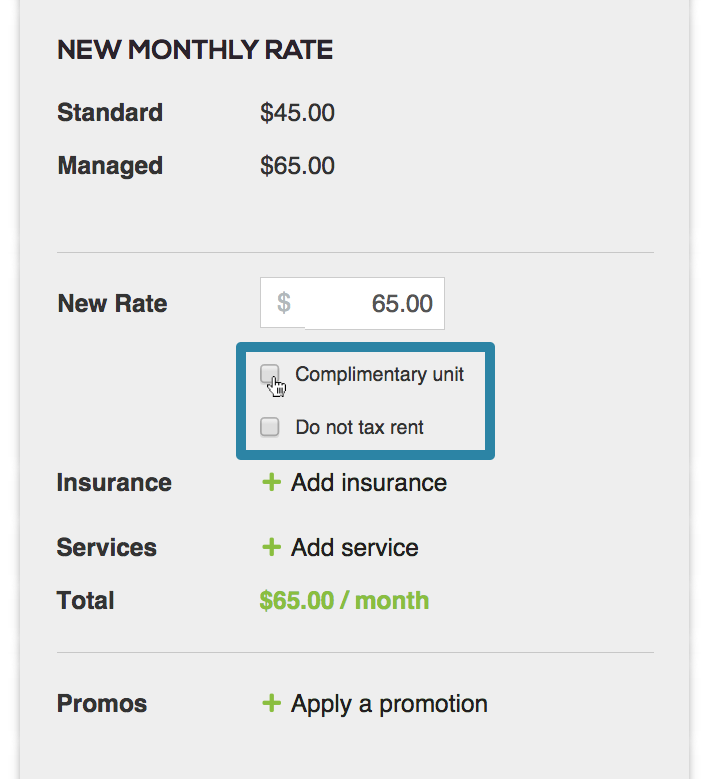
- Checking the box beside Complimentary Unit, will cause the new unit to have a $0.00 monthly charge.
- Checking the box beside Do not tax rent will make the unit's rental fee tax exempt.
If your facility has tenant insurance set up and the tenant had insurance on their previous unit, it will transfer to the new unit automatically. If they did not have insurance, you will have the option of adding insurance to the new unit. Clicking the + Add insurance beside Insurance will produce a dropdown menu, allowing you to add insurance to the tenant’s new unit from pre-loaded insurance policies. Enter the policy number in the field provided. The types of goods stored and description of goods will also transfer from the previous unit if applicable and can be edited or added during the transfer.
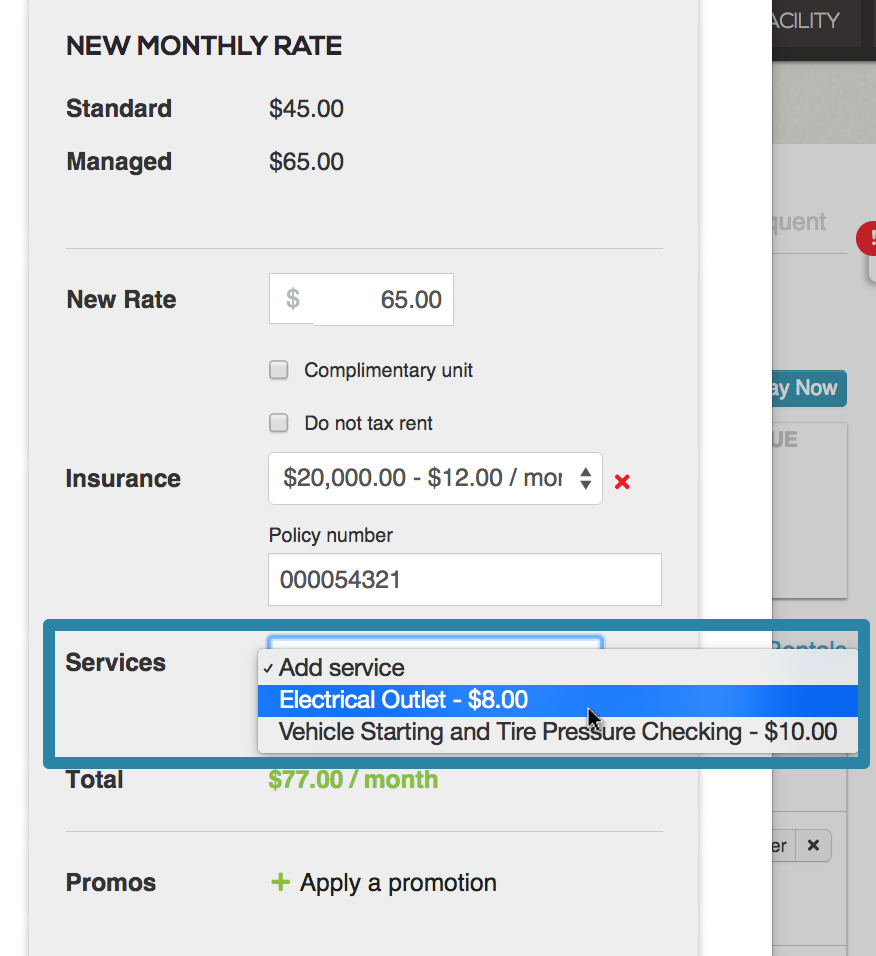
If your facility has services set up, you will have the option of adding monthly services to the new unit. Clicking the + Add Services beside Services will produce a dropdown menu allowing you to add additional services to a tenant’s new rental from pre-loaded services.
If you have any promotions setup for your facility, clicking the + Apply a promotion beside Promos will produce a dropdown menu allowing you to add promotions to the tenant’s new rental.
All recurring promotions on the original unit will automatically transfer to the new unit. Promotions that are fixed to a set number of months will not be transferred.
Under the Additional Notes section:
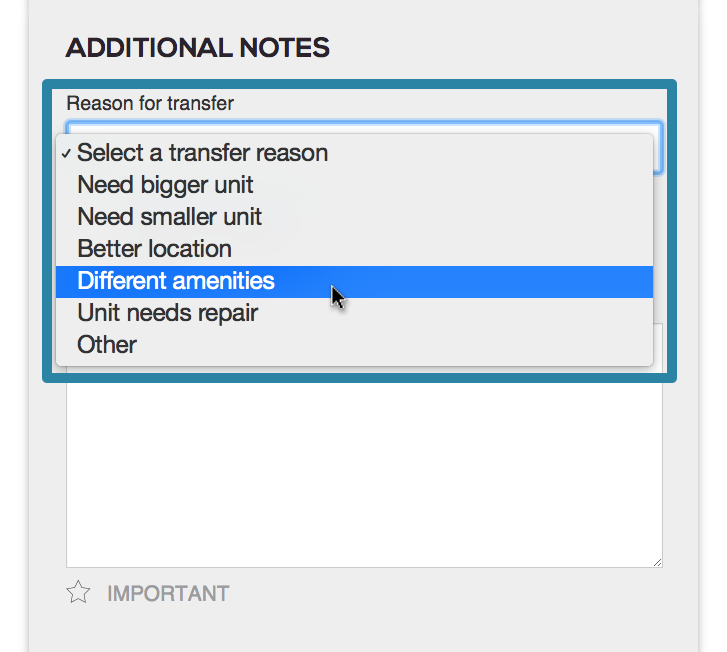
Specify a Reason for transfer by selecting one from the list in the dropdown menu.
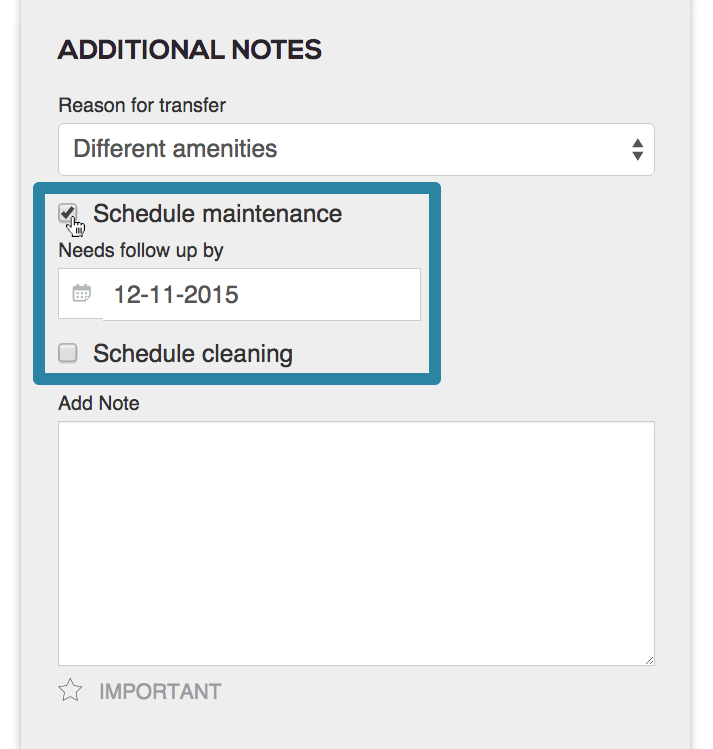
You can schedule maintenance or cleaning for the newly unoccupied unit by checking the appropriate boxes and selecting a date. This creates a task in your Task List.
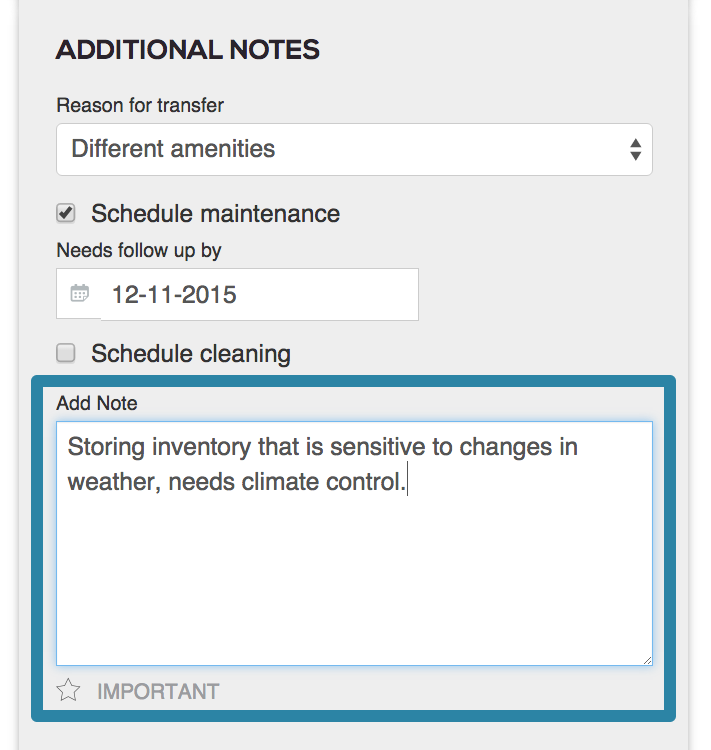
You can also record a note concerning the transfer. Type your note in the Add Note section. Selecting the star icon beside IMPORTANT will prioritize your note over other notes in the system.
Click Next in the lower right to proceed to the next stage the transfer process.
Adding documentation
The second stage in the transfer process is called the Documentation stage:
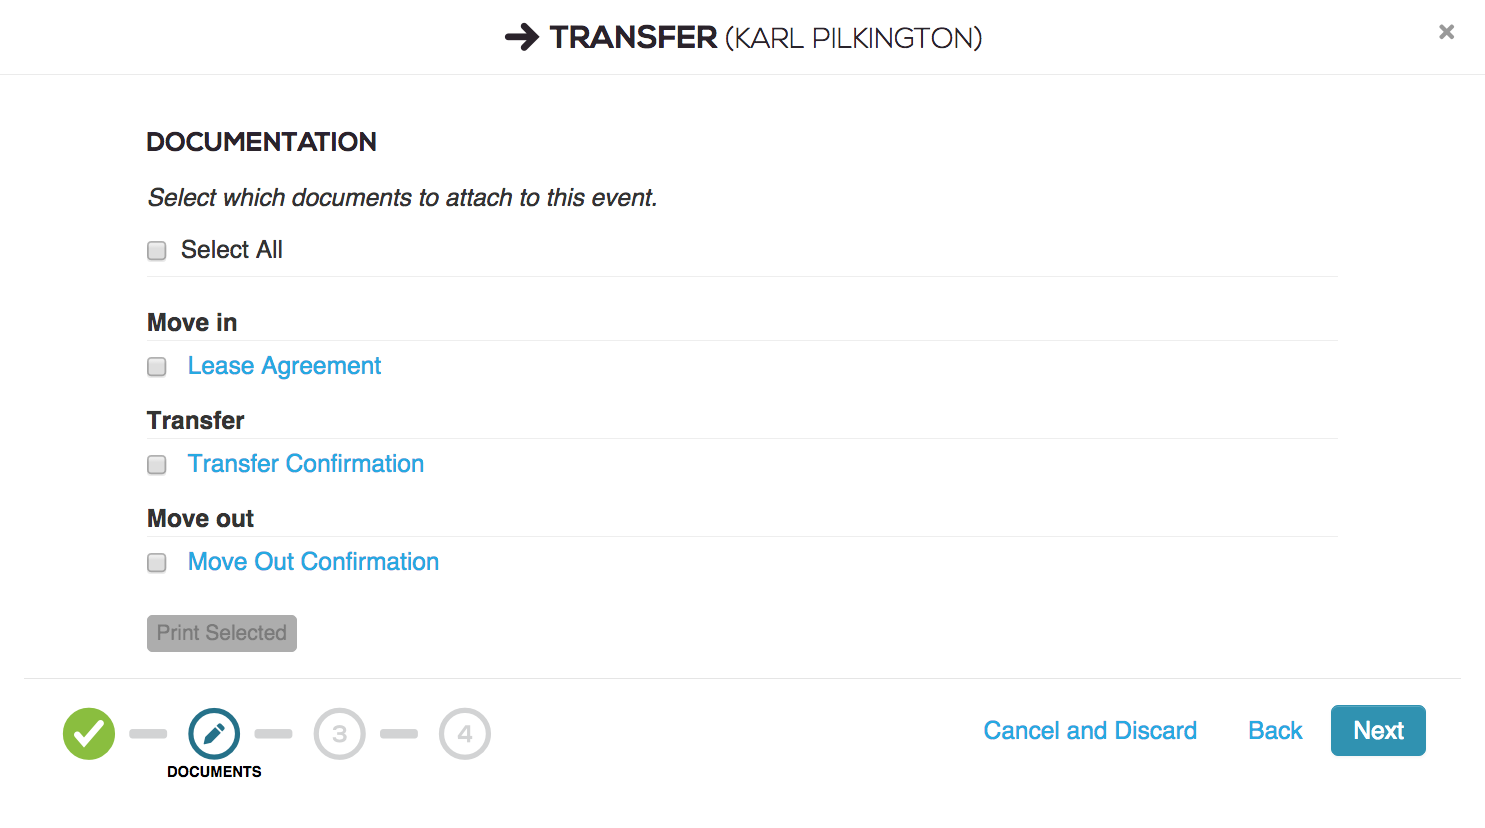
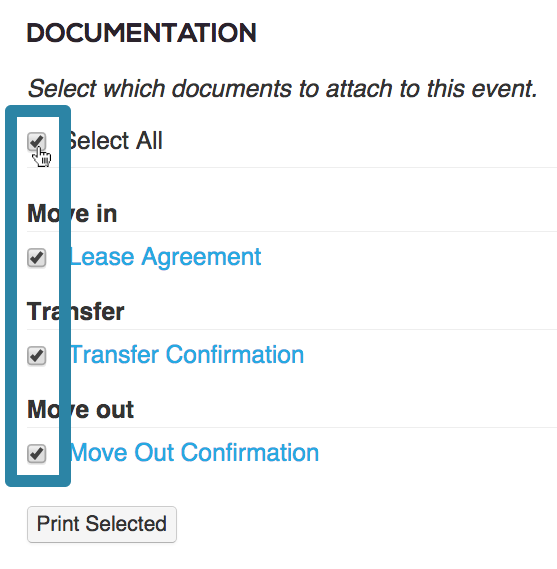
Under Documentation, confirm the documents you wish to attach to the transfer by checking the boxes next to the document title. Checking the box beside Select All will select all of the documents available.
Unattach items by unchecking the box next to the item.
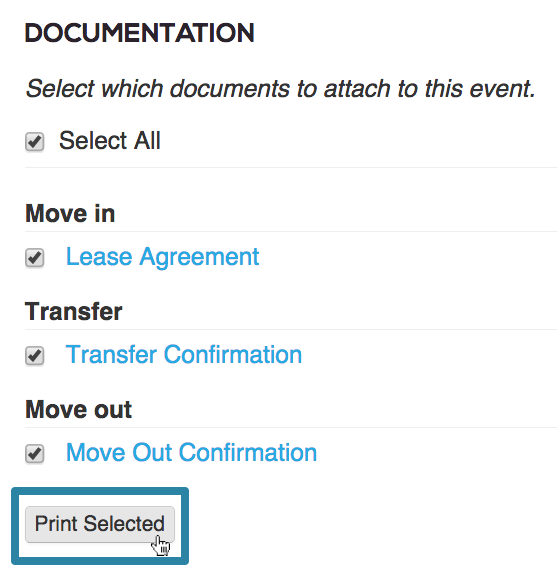
Clicking Print Selected will allow you to print the selected documents for the tenant.
Click Next in the lower right to proceed to the next stage of the transfer process.
Review
The third stage of the transfer process is call the Finalize stage:
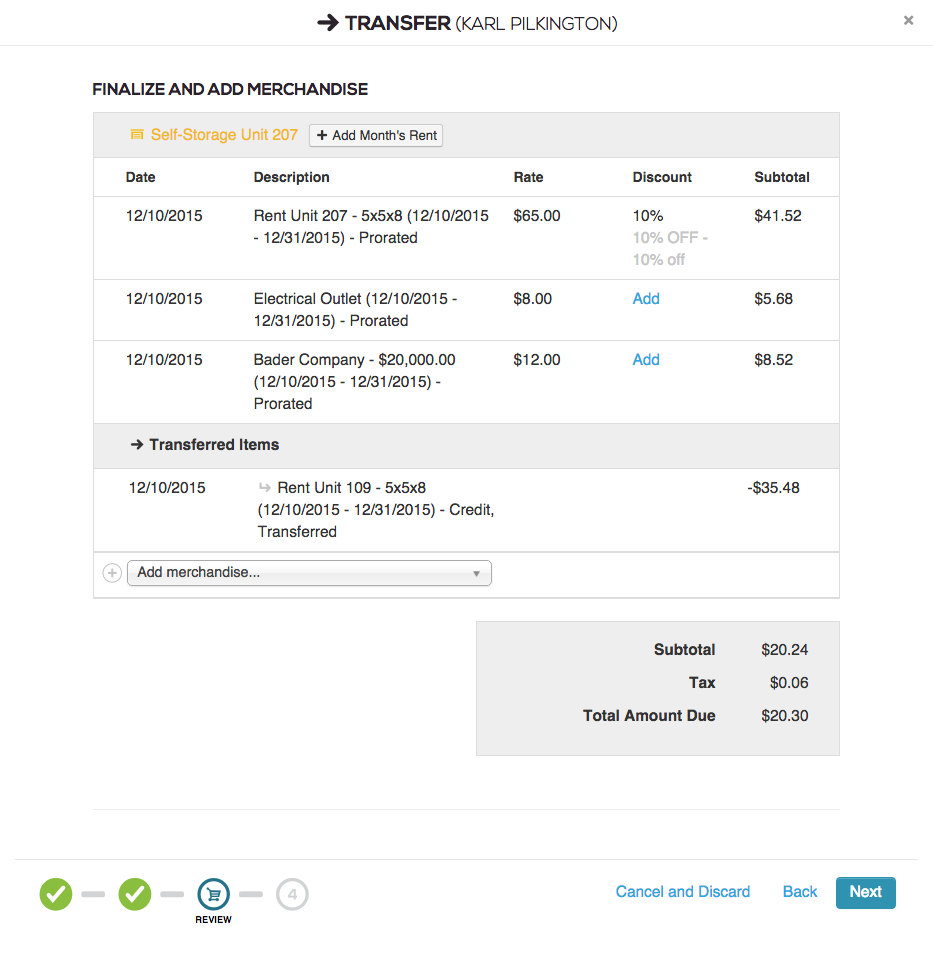
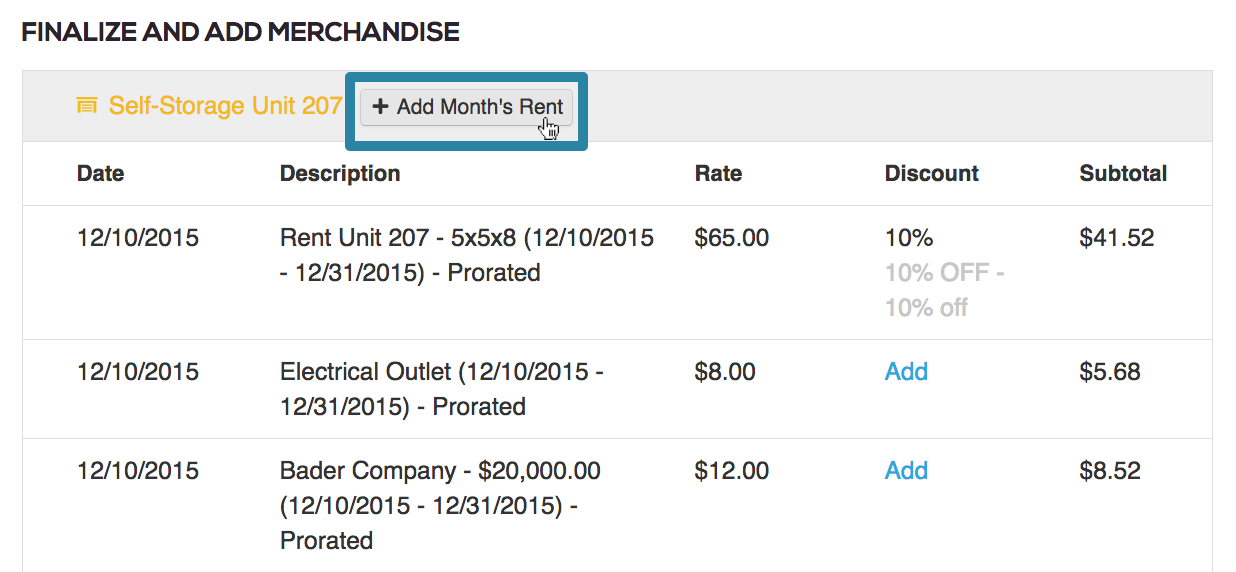
The Review window allows you to review, line-by-line, what the tenant will be paying for at the time of the transfer. Each item is listed in the table and the total will be displayed on the bottom of the screen. If you previously selected a rental promotion, you will see it appear here. Note that the system will automatically prorate the rental amount.
Should the tenant wish to prepay for future month’s rent, at the top of the screen, click + Add Month’s Rent to add an additional month’s rent to the bill. The tenant will not be able to pay more than the amount due if additional rent is not added.
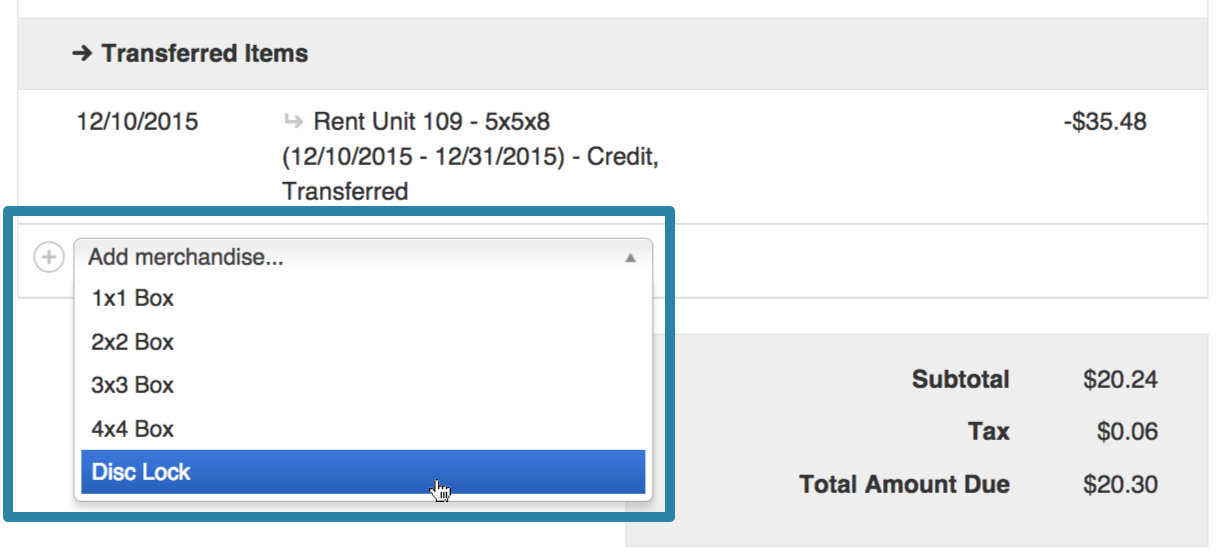
At the bottom of the line item list, click the dropdown menu labeled Add merchandise… to add additional merchandise to the bill. These items and prices must be set up prior to the transfer.
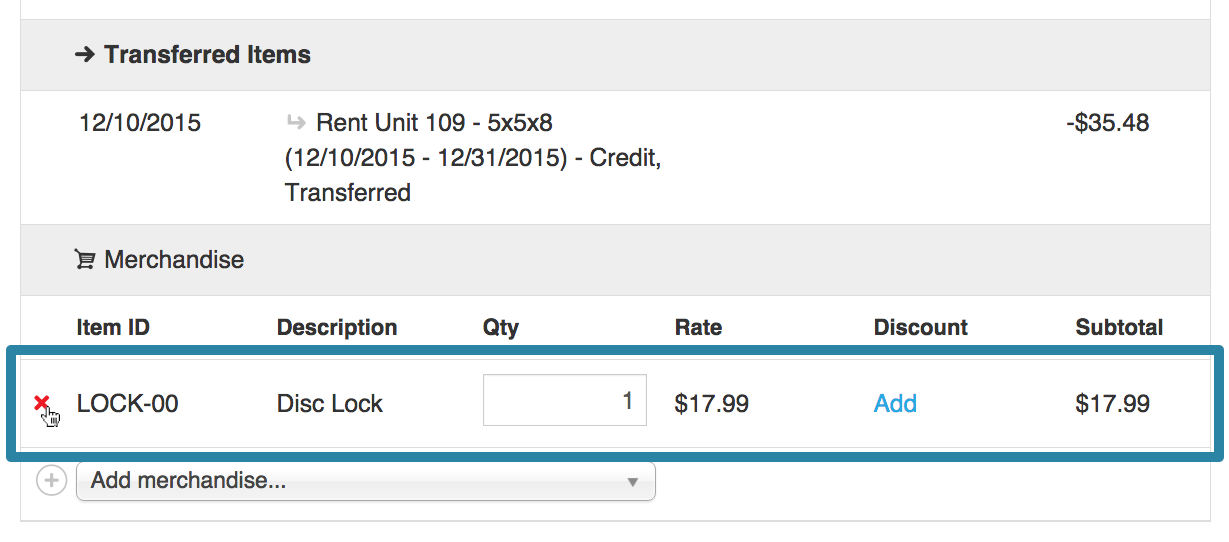
If you wish to remove anything on the line item list, click the X next to the item.
Click Next in the lower right to proceed to the next stage in the transfer process.
Payment
The fourth stage of the transfer process is called the Payment stage.
Because of the three possible outcomes for transfer payments mentioned above, there are three possible situations that can occur at the Payment stage of the transfer process:
If the tenant has no balance due:
- The balance due at the top of the screen will read $0.00
- A message will appear stating that “No money is owed at this time.”

Click Complete Transfer in the bottom right of the screen.

- A window will appear with a message verifying the success of the transfer and giving you options to print or email attached documents. See below for instructions.
- Click Close to finalize the transaction.
If the tenant has a prepaid credit:
- The balance due at the top of the screen will read the amount due to the credit in red.
- A message will appear stating that the amount will be transferred to the tenants account.

- Click Complete Transfer in the bottom right of the screen.

A window will appear with a message verifying the success of the transfer and giving you options to print or email attached documents. See below for instructions.
Click Close to finalize the transaction.
If the tenant has a balance due (as in our example):
The balance due at the top of the screen will read the amount the tenant owes in red.
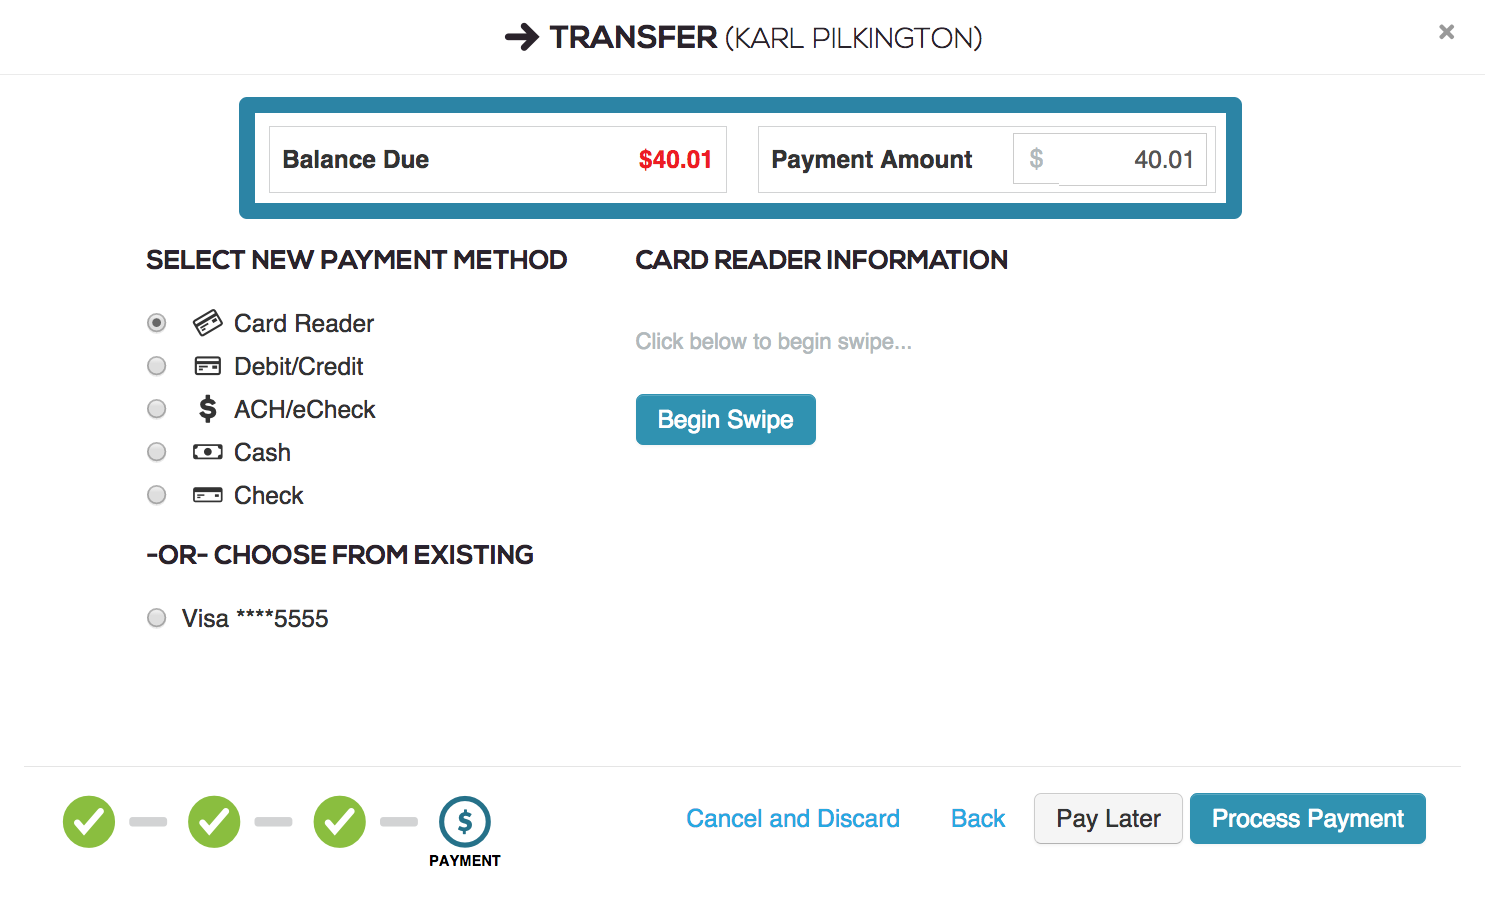
You will be presented with the standard payments methods to choose from. Click the button next to the desired payment and enter the appropriate information in the fields provided. If the tenant wants to pay more than is owed, you can add additional rent from the previous Review step.
Click Process Payment in the bottom right of the screen to run the selected payment method and proceed to the next stage of the transfer process.

Confirmation
The final stage of the transfer process is call the confirmation stage. This screen will appear at the end of all possible transfer and payment outcomes.
A window will appear with a message verifying the success of the payment:
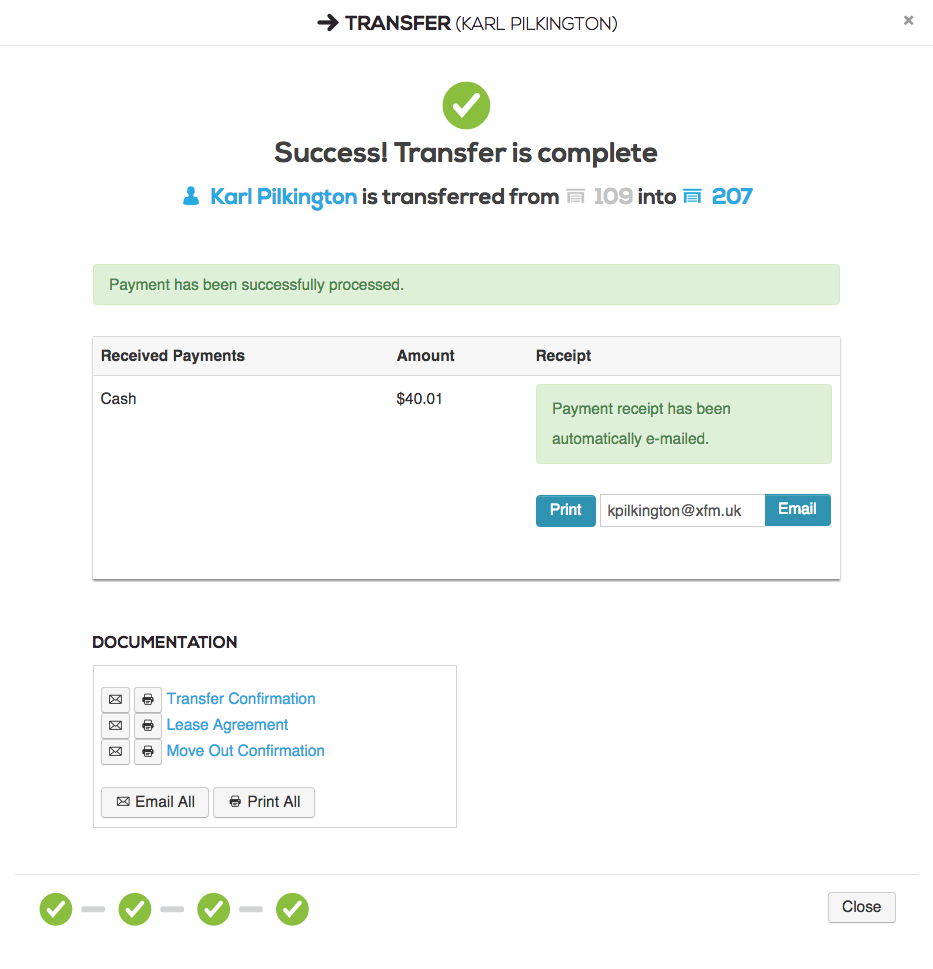
You will be given options to print or email the receipt to the tenant. Click Print to print the receipt for the customer or enter their desired email address and click Email.

You will also be given the option to print or email the tenant any documents that have been attached to the transfer:
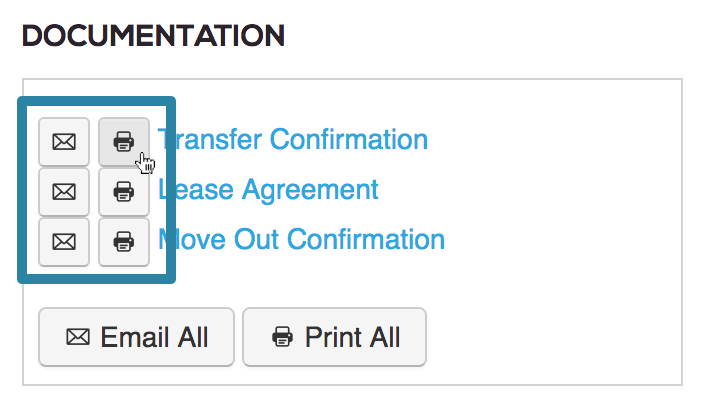
To the left of each attached document, click either the print button (denoted by a printer icon) or the email button (denoted by a envelope icon) to either print the document or email it to the tenant respectively.
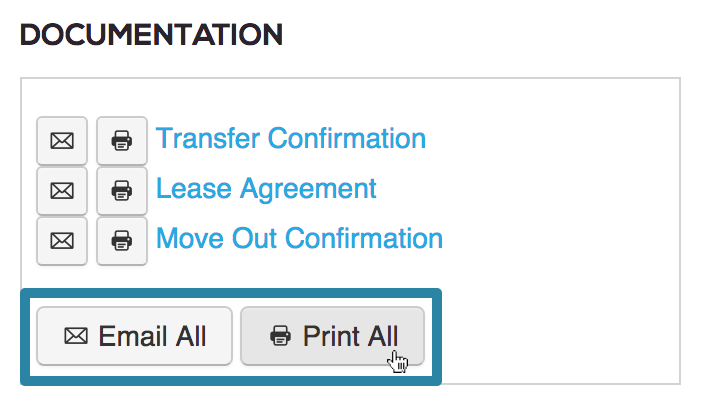
You may also choose to print or email all of the attached documents by clicking either Print All or Email All at the bottom of the document list.
Click Close in the lower right when you are finished to finalize the transfer and complete the transaction.