The Units Tab contains your published facility map and a sortable, filterable list of all of your units. In this tab, you will have the option to view the type, size, grouping, rate, description, quantity, and the availability of your units.
Units are color-coded based on occupancy status:
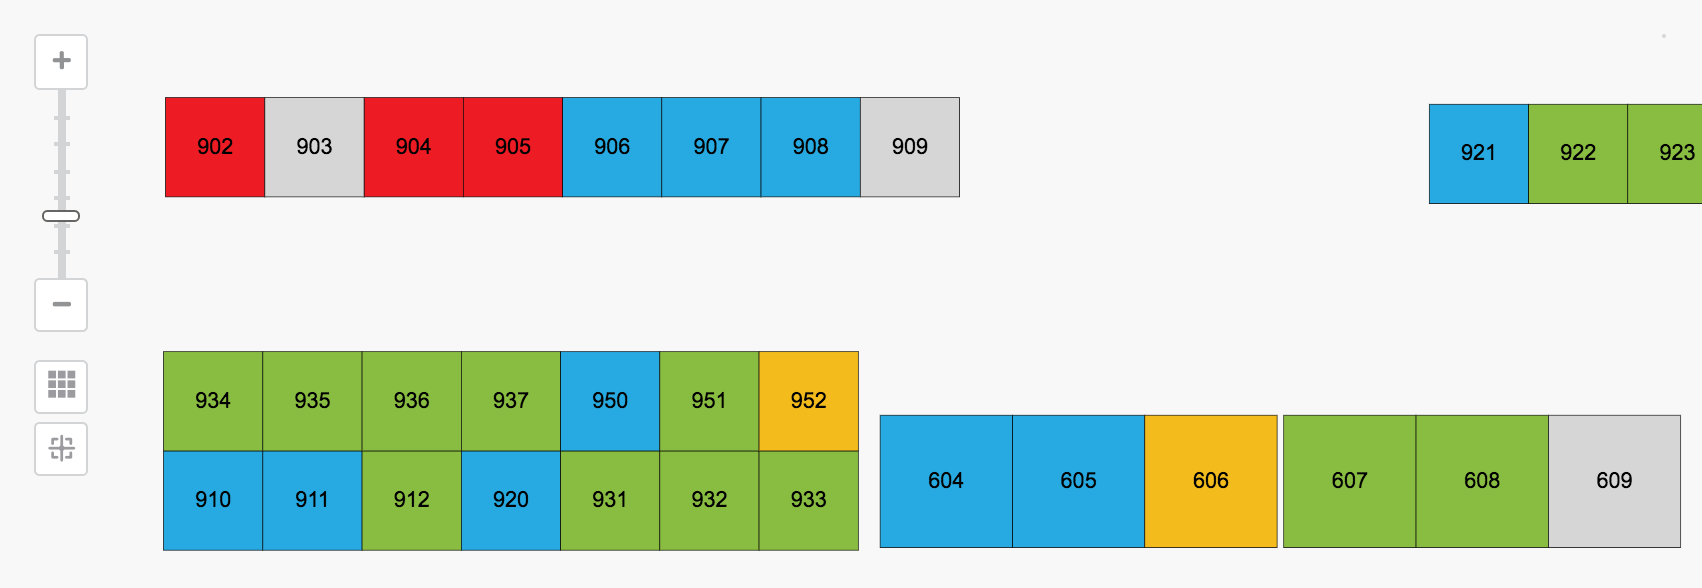
- Red: Delinquent units
- Blue: Occupied units
- Yellow: Reserved units
- Green: Vacant units
- Grey: Un-rentable units
Changing Unit Views
The default view of the Units Tab is the Facility Map. In the upper right corner of the viewing window, you will see three other viewing options: Tiered Pricing, Groups, Individual, and Walk Through. Don't have the Tiered Pricing tab? Create and enable unit tiers in Corporate Software Settings to reveal the Tiered Pricing tab. Don't have the Facility Map tab? Create and publish your map using the map builder tool found in Settings in order to reveal the Facility Map tab.
Tiered Pricing: This view shows your which tier is assigned to your units if you use Tiered Pricing.
Groups: This view shows your units in groups. To be grouped, units must have the same
- unit type,
- size,
- standard rate,
- amenities,
- and floor.
It also shows how many units of each size are currently available, as well as your percentage of occupancy for each unit size group.
Individual: This view shows each unit individually. This view will also show whether or not a unit is occupied, who is occupying it (if applicable), and provide options to move-out or transfer the tenant. The Reserve button can be used to reserve a vacant unit under this view.
Walk Through: This view shows each unit individually in the order you would see them when walking through your facility. You can define this order and you have the same options here as you do in the Individual view. You also have the option to add a note to any individual unit.
Using Filters
Filters are a great way to quickly sort through your units. At the top of the screen, you’ll see Filter by followed by several drop-down menus containing the filters you can choose from. You have the option to filter your units by:
- Status (vacant, occupied, etc),
- Type (parking, mailbox, self storage)
- Size
- Amenities (heated, cooled, powered)
- Area (a range of square feet)
You can choose any number of filter options to help you narrow down your results.
To begin filtering your units:
- Choose any filter by selecting it from one or several of the drop-down menus. You can apply several filters at a time.
- Click Apply.
Your results will be updated to include only those items that match the filters you selected.
After clicking Apply, the filters selected will appear underneath the filter drop-downs. You can click on the X next to a filter to remove that filter from the search. You can also clear applied filters by selecting the filter that you want to remove and clicking Clear. Doing so will update the list to reflect these changes.
Printing and Exporting Filtered Results
After filtering your units, you can print a list of your results. To print:
- Click on the print icon on the right side of the screen, below the “Walk Thru” tab. A drop-down menu will appear.
- Select an option to either open and print a PDF or download a CSV or TXT document. A separate window will open with your filtered list.
- Print from the new window.
For example, to print a vacant unit report, use the status filter to select vacant units and then click the printer icon to print the report.