The Rental Center™ is a user interface that allows your customers the convenience of paying their rent and managing their accounts online. The user-friendly Basic Rental Center™ interface enables your customers to update their personal information and perform a variety of functions such as setting up autopay and reviewing their payment history. The Advanced Rental Center™ includes the same functions as the Basic Rental Center™ plus online move-ins and move-outs.
Through the Rental Center™, your customers can:
- Create an account
- Make a payment
- View rental information
- Setup autopay
- View and change account information
- Add another unit to their account (Advanced Rental Center™ only)
- Move out online (Advanced Rental Center™ only)
Creating an account
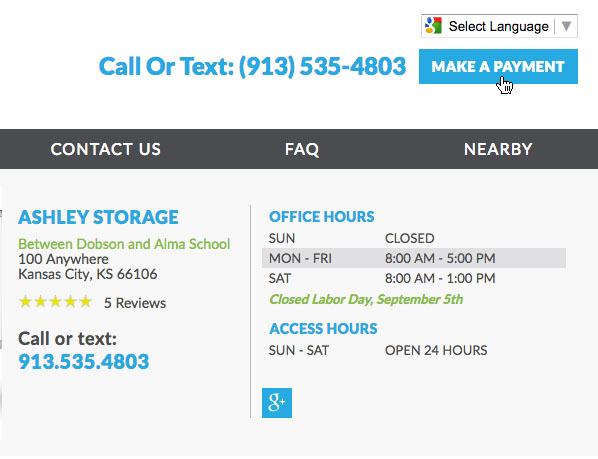
To set up an account through the Rental Center™, your customer will click the Pay Online button on your website. The link is specific to your website and where to find the button may vary depending on what type of website your facility has and whether or not your website was made by Storable Edge. We suggest that you show your customer where to find the payment button.
The next page they see will give them the option to sign up or sign in. For new customers, instruct them to sign up.
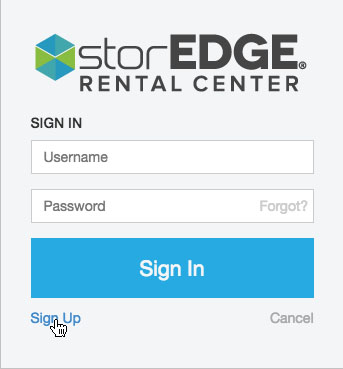
After clicking Sign Up, your customer will need to enter some information. If they have already rented a unit on site at your facility, they will need:
- Their unit number
- Their account number
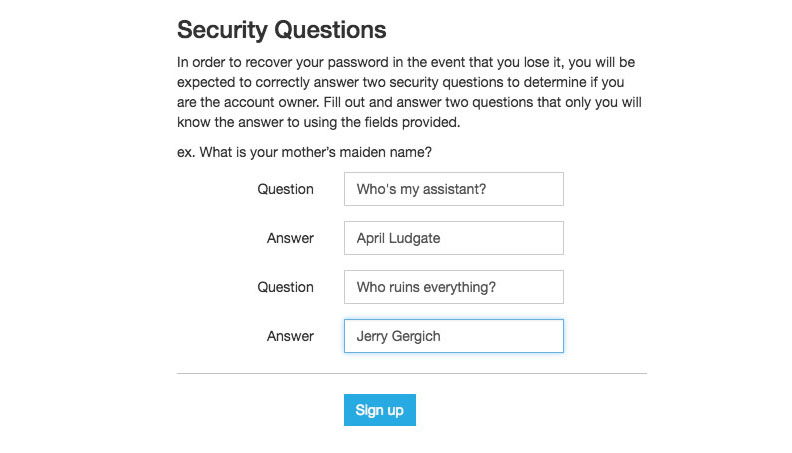
Additionally, your customer will be prompted to create security questions and answers in the event that they forget their password. After completing all fields, the customer will click Sign up.
Once your customer has created their account or logged into their account, they will see a screen that gives them a variety of options.

From here customers can edit their account settings, view their rental information and unit details, or make a one-time payment.
Making a payment
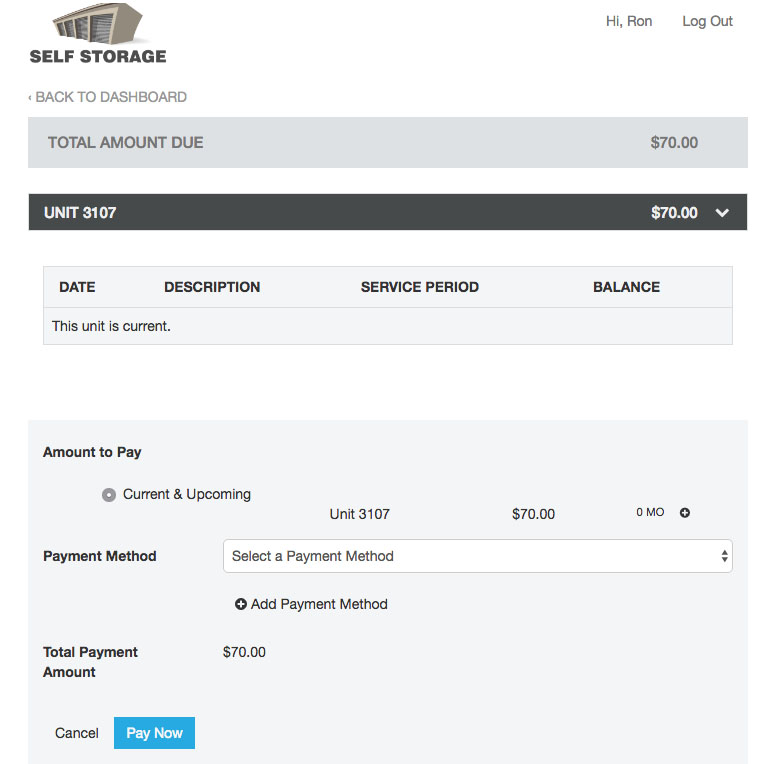
To make a payment, your customer will select the Pay Now button, which will bring them to the payment screen. Here, they will see the amount due on their account and have the option to pay their balance by selecting an existing saved credit card, debit card or bank account or adding a new payment method.
Viewing Rental Information
When selecting View Rentals from the main screen, your customers can see details about their unit, their billing cycle, choose to see their payment history and rental documents, or turn on autopay.
Autopay
| To add a new payment method to their account, your tenant will log into the tenant portal and click Account Settings. | |
| On the Billing Information tab, they will then click Add Payment Method. |
Turning on Autopay
Note: If the tenant doesn't see any payment methods when setting up Autopay, they should first add a payment method using the instructions above.
- Click the View Rentals button
- Click the Autopay - On button
- Select the payment method from the dropdown and choose the autopay date.
- Click Enable Autopay.
Viewing and changing Account Settings
Your customers can conveniently view and make changes to their account settings by selecting Account Settings on the main screen.
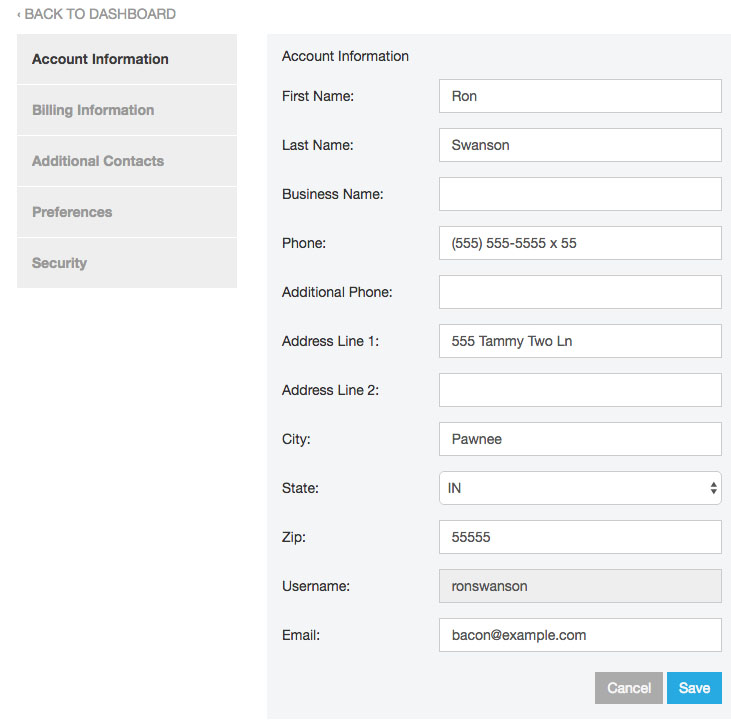
Within the Account Settings section, your customers have a variety of options:
- Account Information allows your customer to update their address, phone number, or email address. Checking the box labeled “I agree to receive text message communications from this facility.” will opt their primary phone number into receiving text messages from your facility. They can opt out by unchecking the box or replying STOP to their text message thread with your facility.
- Billing Information allows your customer to update their payment method. Here, they can edit their credit card or checking account information.
- Additional Contacts allows your customers to add a secondary contact person to their account.
- Preferences gives your customer the option of choosing how they receive their bill. They can choose to receive their bill from your facility through email, print, or none to opt out of receiving billing notifications.
- Security allows your customer to change their password by entering their current password or by answering the password recovery questions they chose when they first created their account.
Advanced Rental Center™
Advanced Rental Center™ offers all of the same options as the basic Rental Center™ plus online move-ins and online move-outs.
Advanced Rental Center™ is standard with all Pro level or above contracts. If you'd prefer to hide the Add Another Unit or Move Out buttons, navigate to your facility Settings and click on the Rental Center settings button. Check the Hide Additional Unit Button or Hide Move Out Button check boxes.
Adjust Rental Center Settings
You can control many aspects of the Rental Center via settings in your Edge account. Click the Corporate button followed by the gear icon and Rental Center Settings tab. Here you'll be able to manage the following:
Basic Rental Center™ Settings
- Prevent tenants from editing their contact information
- Disable autopay enrollment through the Rental Center
- Disable partial payments via Rental Center
- Display combo lock when tenant has zero dollar balance
- Set a delinquency stage at which tenants will be prevented from paying online
Advanced Rental Center™ Settings
- Customize the move in confirmation verbiage
- Require an additional contact during an online move-in
- Require autopay during an online move-in
- Require insurance during an online move-in
- Require services during an online move-in
- Hide unavailable units