When your facility has the need to issue a refund to a tenant, Storable Edge gives you a variety of options to change the terms and approval process for issuing a refund check.
To access your corporate Refunds settings:
- Click the Corporate button in the upper right of your screen.
- Under the Settings section, click on the Software Settings tab and then the Refunds button.
- General Refund Setting: Here, you can require approval for refunds above a certain dollar amount. You can choose to always require approval, never require approval, or require approval when the total exceeds a chosen dollar amount.
- Maximum Cash Refund: This sections gives you the option to set a limit on how much cash can be refunded to a tenant.
- Refund Partial Rental Periods During Move Out: Here, you can set prorate standards for rental periods. This is used when a tenant has already paid their rent, but moves out during a rental period for which they have already paid. You can choose to never prorate, which means the facility keeps the remainder of the payment that has already been paid, always prorate, which will refund the paid portion of the rent for the period that the renter will not be occupying the unit, or only prorate a refund when a tenant has occupied a unit for a chosen number of days (example: if you choose to set this to 12 days, then a tenant occupying a unit for 12 days or less will receive a refund for the remainder of the month in which they will not be occupying the unit, but will not receive a refund at all if they occupy the unit for more than 12 days).
- Bad Debt Write Off Notification: When a tenant moves out of a unit with an outstanding balance, you have the option to collect what's owed or write off the remaining balance as bad debt. This setting gives you the option to opt in or out of email notifications when a write off has taken place. If you opt in, you can choose an email to receive a notification. You can also choose to only be notified when the write off is above a certain dollar amount. For example, enter $0 to be notified about write offs for all amounts, and enter $500 to be notified when a user writes off debt that exceeds $500. You can learn more about writing off bad debt on our help site.
- Refund Request Notifications: If you've defined the General Refund Setting to require approval for certain refunds, you can assign an email address to receive refund requests here. To set an email address to receive refund requests, enter an email address in the field next to Refund Request Recipient E-mail. Whether or not you choose to use email notifications, your software will keep a record of refund requests in the Corporate section of your software on the Tasks tab. You can learn more about approving and denying refunds on our help site.
Requiring approval for refunds
If you choose to set your software to require approval for refunds, it's necessary to set permissions for the users you'd like to permit to approve or deny refunds. You can make these adjustments in your Corporate Settings.
The first thing you will need to do is define the specific role(s) that you want to allow refund approval capabilities. You can add the permission to an existing role, or begin a new role to which you will grant this permission.
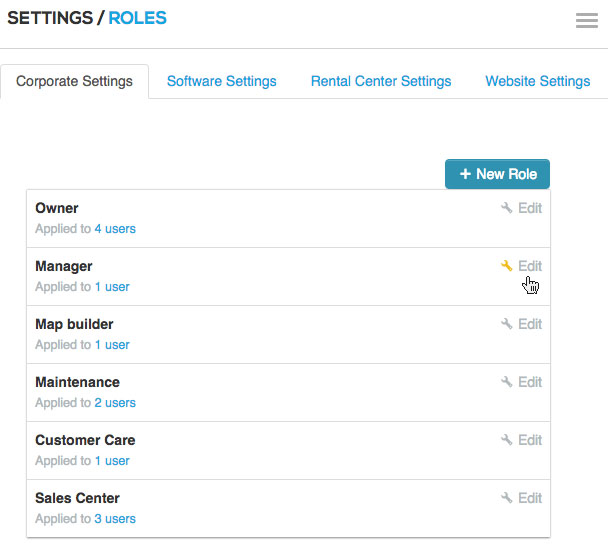
To define which roles can approve refunds, access your Corporate Settings. Under Users, select Roles. Find the role that you would like to allow to approve refunds, and select Edit. 
Under Permissions, check the box next to Manage refunds. Before leaving the page, click Save. To learn more about setting roles for your users, refer to our user management article on our help site.
Now that you've defined your refund settings, you can begin issuing and approving refunds. For information regarding the refund approval or denial process, check out our approving and denying refunds article on our help site.